There’s a particular kind of coffee craving that hits in the morning. You want something strong and comforting, but not everyone owns an espresso machine. Even if you did, those machines are expensive, take up counter space, and require regular maintenance.
This is exactly where the moka pot fits in.
The moka pot has been a staple in kitchens for nearly a century. It’s compact, affordable, and capable of brewing a rich, concentrated coffee that sits somewhere between espresso and strong drip coffee. For many people, it’s the simplest way to make bold coffee at home without complicated equipment.
In this guide, I’ll walk you through how moka pots work, what you need to brew with one, and the simple steps to make a consistently good cup.
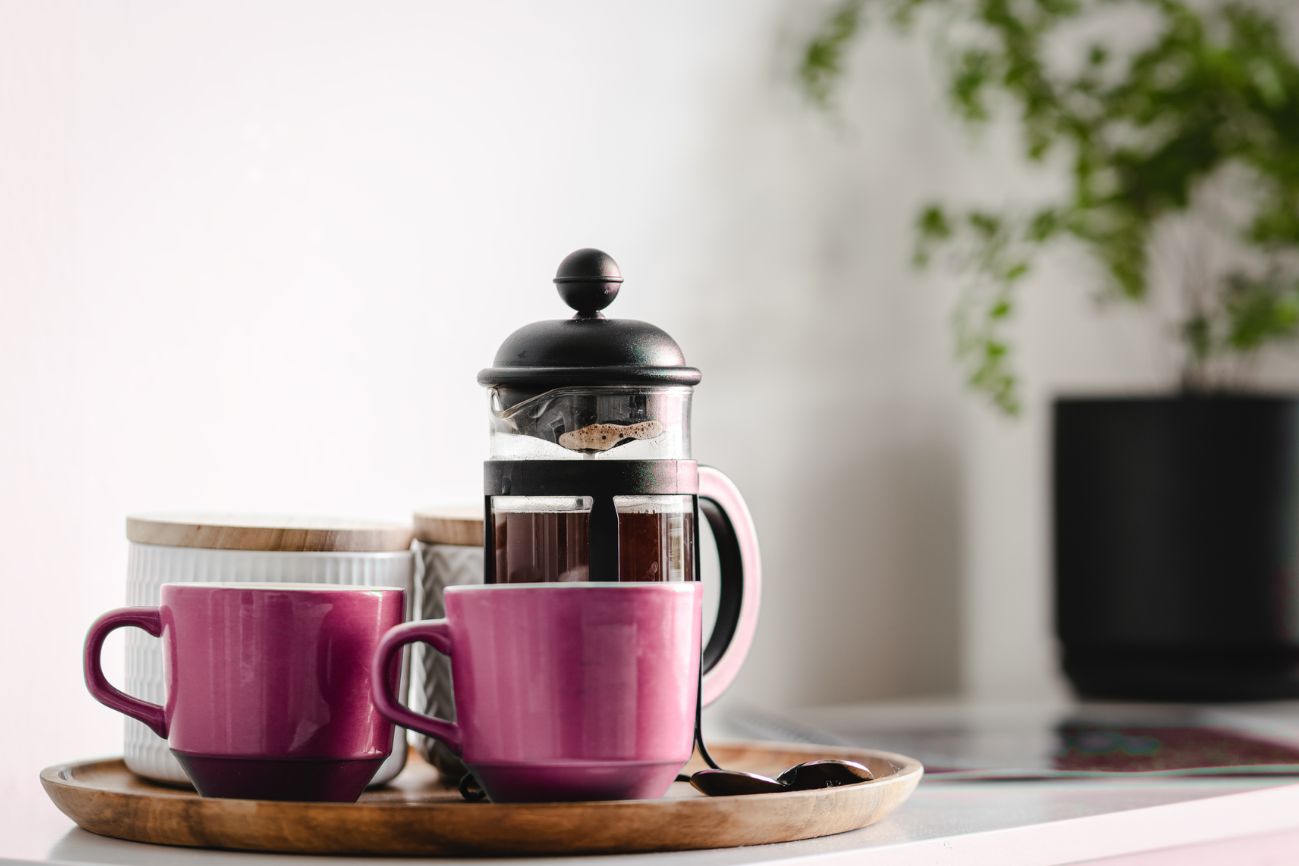
If you’re still deciding which type of brewer to buy, you can also see this post to the The 6 Easiest Coffee Brewing Methods for Beginners.
What is Moka Pot?
A moka pot is a stovetop coffee maker invented in Italy in 1933 by Alfonso Bialetti in Italy. Its recognizable octagonal shape has barely changed since then.

Instead of using electricity or pumps, the moka pot brews coffee using steam pressure created by heated water. As water in the bottom chamber heats up, pressure pushes it upward through ground coffee and into the upper chamber.
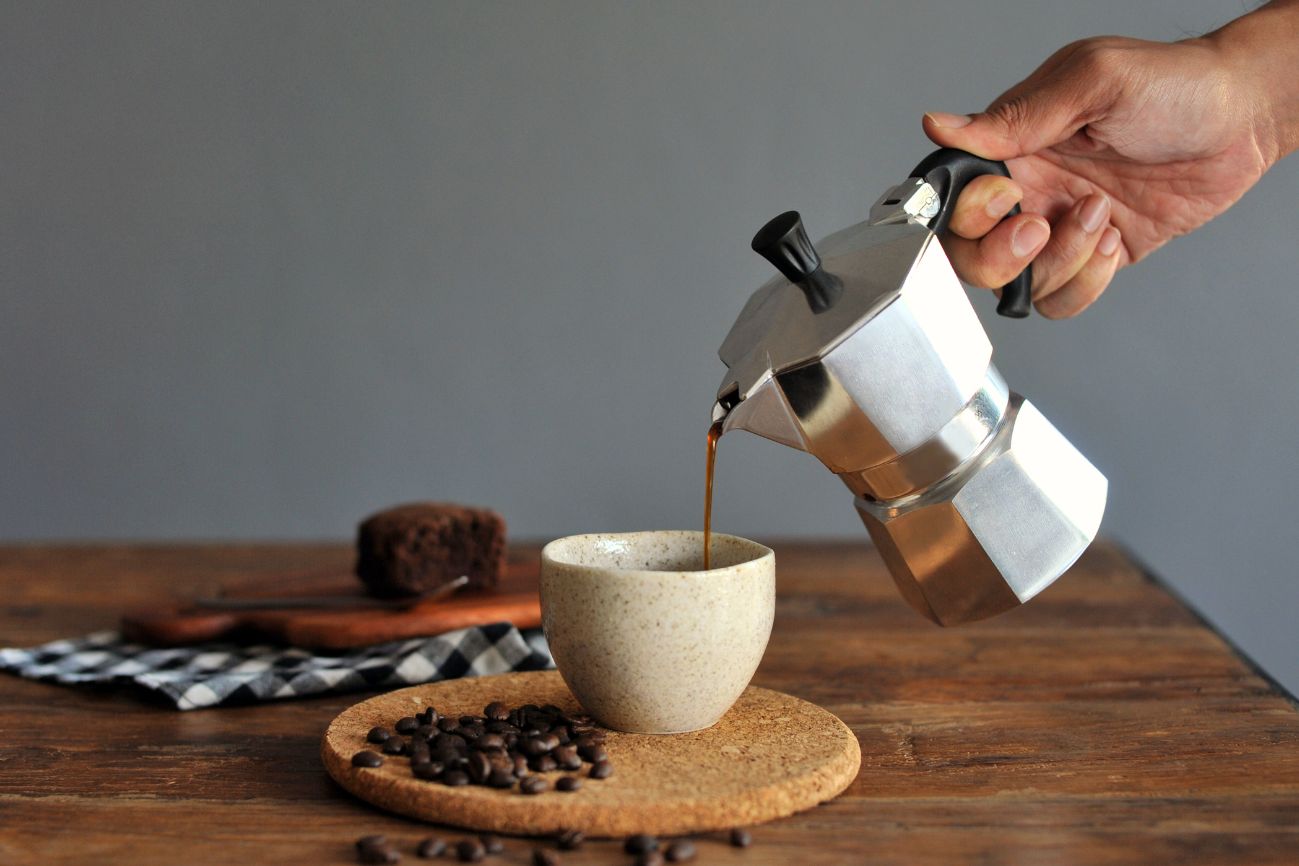
The result is a strong, full-bodied coffee that’s more concentrated than drip coffee but lighter than true espresso.
That balance is exactly why moka pots are still popular today. They’re simple, durable, and easy to pack away in small kitchens or travel setups.
Moka Pot Design
A moka pot has three main parts:
Bottom Chamber
This is where the water goes. As the pot heats on the stove, the water begins to build pressure.
Filter Basket
The middle section holds the ground coffee.
Top Chamber
The brewed coffee collects here once it passes through the coffee grounds.
The design is simple, but each part plays an important role in the brewing process.

What You’ll Need
Before you start brewing, gather the following:
- A Moka Pot
- Medium-fine ground coffee (grind whole beans just before brewing, slightly coarser than espresso)
- Fresh, filtered water
- A stovetop or heat source
- Coffee grinder (if using whole beans)
- Mug for serving
Moka pots are sold in “cup sizes” that are smaller than standard mugs. If you’re unsure which one to buy, read this moka pot sizes explained page breaks down the difference between 1-cup, 3-cup, and 6-cup models.

Step-by-Step Guide to Brewing Moka Pot Coffee
Step1 – Grind the Coffee
- Measuring and grinding coffee beans is the first step in the procedure. For the finest flavor, I suggest using dark-roasted or espresso-roasted beans.
- Measure them based on your preferred coffee ratio. You don’t need to worry about the coffee ratio if you don’t know about it. At Coffee Brewing Basics 101 already discribed about the coffee and water ratio. Check it out if you are interesteed.
- For the best flavor, grind the beans a little coarser than espresso after measuring them.

Step 2 – Fill the Bottom Chamber
- Filling the bottom chamber of the Moka Pot. For better flavor, I prefer using hot water to speed up brewing and reduce the time the coffee spends over heat. Either approach works, but avoid filling above the safety valve.
- Unscrew the bottom chamber of the Moka Pot and add the water to the safety valve. Avoid overfilling, as this can affect brewing.
- Filtered water generally produces cleaner flavor and reduces mineral buildup over time.

Step 3 – Add the Coffee Grounds
- Place the filter basket into the bottom chamber and fill it with ground coffee.
- Level the coffee with your finger or a spoon, but do not tamp or press it down. Compressing the coffee can restrict water flow and lead to uneven extraction.
- Wipe away any loose grounds from the rim before assembling the pot.

Step 4 -Assemble the Moka Pot
- Screw the top chamber onto the base firmly so the pot seals properly.
- Make sure everything is aligned and secure before placing it on the stove.

Step 5 – Heat the Pot
- Place the Moka Pot on a stovetop and turn it on to a medium heat. Ensure the handle isn’t exposed to direct heat.
- As the water heats, pressure builds and pushes water upward through the coffee grounds. After a short time, you’ll see coffee begin flowing into the top chamber.

Step 6 – Watch the Brew
- As brewing finishes, you’ll hear a gurgling sound. This means most of the water has passed through the coffee.
- At this point, remove the pot from the heat. Leaving it too long can over-extract the coffee and make it taste bitter.
Step 7 – Serve and Enjoy
- Pour the coffee into your mug and enjoy.
- Moka pot coffee is strong and concentrated, which makes it great on its own or as a base for drinks like lattes or cappuccinos.

Why Choose a Moka Pot?
There are a few reasons moka pots remain popular even today.
Affordable
Compared to espresso machines, moka pots are inexpensive and long-lasting.
Compact
They work well in small kitchens, apartments, and travel setups.
Strong Flavor
The brewing method produces a rich, bold cup of coffee with more body than typical drip coffee.
Simple to Use
Once you’ve brewed with it a few times, the process becomes second nature.
No Paper Filters
Most moka pots use a metal filter, which reduces waste and ongoing costs.
Moka Pot Coffee Brewing Tips for Beginners
- Choose Quality Coffee: Always use fresh ground, high-quality coffee beans, because it will provide you with the most rich and flavorful coffee.
- Don’t Overpack the Basket: Pressing the coffee too tightly can block water flow and affect the brew, so don’t make this mistake.
- Use Medium Heat: The coffee will burn if you use high heat, and it won’t be able to extract all the flavors from the coffee grounds if you use low heat. Therefore, it is advised to always use medium heat.
- Clean Regularly: Make sure to rinse all parts with warm water after each use to avoid residue buildup.
- Adjust grind size gradually: Small changes in grind size can make a big difference in flavor.
- Experiment: Adjust the grind size, coffee quantity, and water temperature to suit your taste preferences.

Common Mistakes to Avoid
Grinding too fine
This can block water flow and create overly bitter coffee.
Overfilling the basket
Too much coffee disrupts the brewing balance.
Leaving the pot on the heat too long
Once the gurgling starts, remove it from the stove.
Ignoring regular cleaning
Coffee oils can build up and affect flavor over time.
Cleaning and Maintenance
Moka pots are relatively easy to maintain.
Daily cleaning
Rinse the pot with warm water after each use and remove used grounds from the filter basket. Let all parts dry completely before reassembling.
Occasional deep cleaning
If mineral buildup appears, a mixture of water and vinegar can help remove it.
Replace the gasket when needed
The rubber gasket inside the pot wears out over time and may need replacement to maintain a proper seal.
Avoid putting aluminum moka pots in the dishwasher, as it can damage the surface.
Choosing the Right Moka Pot
Moka pots come in several sizes and materials.
Size
They range from 1-cup models to 12-cup versions. Choose based on how much coffee you typically drink.
Material
- Aluminum – traditional, lightweight, and heats quickly
- Stainless steel – more durable and compatible with induction stoves
If you’re unsure which one to buy, you can explore this guide to the best moka pots for home brewing.

Final Thoughts
The moka pot is one of the simplest ways to make strong, satisfying coffee at home. It doesn’t require expensive equipment, and once you understand the basic process, brewing becomes quick and reliable.
For beginners, it’s an excellent starting point. With fresh coffee, the right grind size, and a little attention to heat, a moka pot can produce a surprisingly rich cup that fits easily into everyday routines.
If you’re exploring home brewing methods, the moka pot is a classic tool that’s well worth trying.
See if you are interested in buying one, read this article for more details about the best Moka Pot coffee maker. Happy brewing!