Beginner Coffee Setup: What You Actually Need (No Overcomplication)
I’ve watched a lot of people get overwhelmed when they start making coffee at home. They read reviews, compare features, get buried in opinions about grind uniformity or water temperature, and either buy too much or freeze up completely.
I spent years making coffee in cafés before I started traveling and brewing in temporary kitchens. What I learned is that most beginners don’t need half of what the internet tells them to buy. You don’t need a $600 grinder or a scale that measures to the hundredth of a gram. You need a few solid pieces of gear that work reliably and don’t demand much from you while you’re still figuring out what you like.
This guide is written for people who want better coffee than what they’ve been drinking, but who aren’t interested in turning it into a technical project. It’s for small kitchens, first apartments, people who travel, and anyone who just wants a straightforward answer about where to start.
I’ll walk you through the four essentials every beginner setup needs, break down realistic budgets, and show you how to choose gear based on your actual living situation. No hype, no affiliate pressure, just what works in real life.
The 4 Essentials of a Beginner Coffee Setup
Every functional coffee setup, no matter how simple or advanced, comes down to four things. If you have these, you can make good coffee. If you’re missing one, you’ll notice.
1. A Coffee Grinder
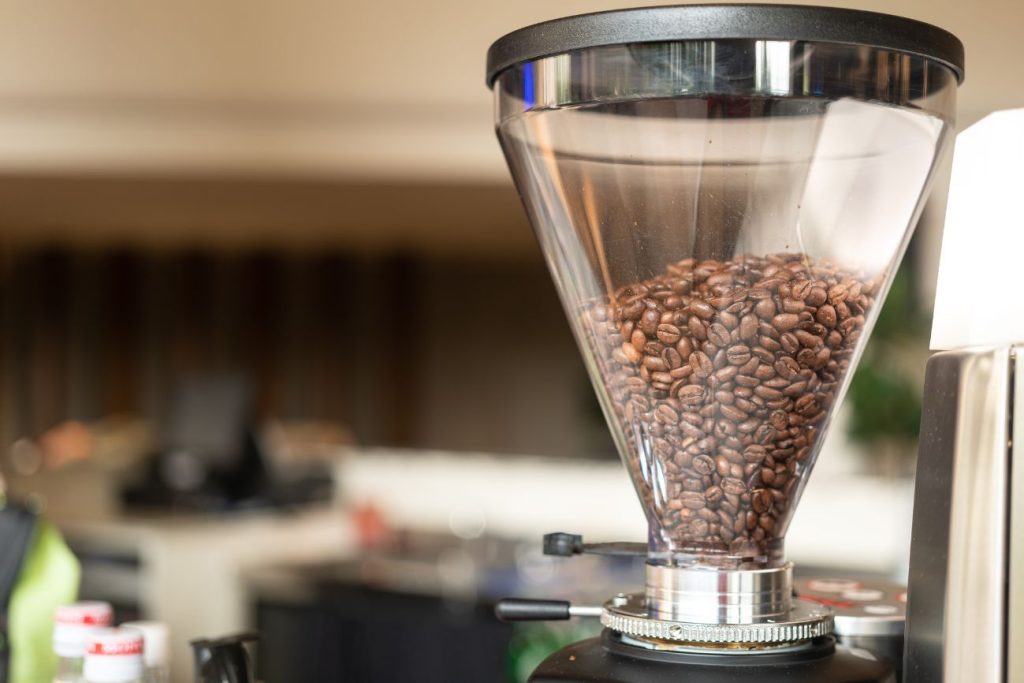
This is the one piece of gear that makes the biggest difference, and it’s the one beginners skip most often.
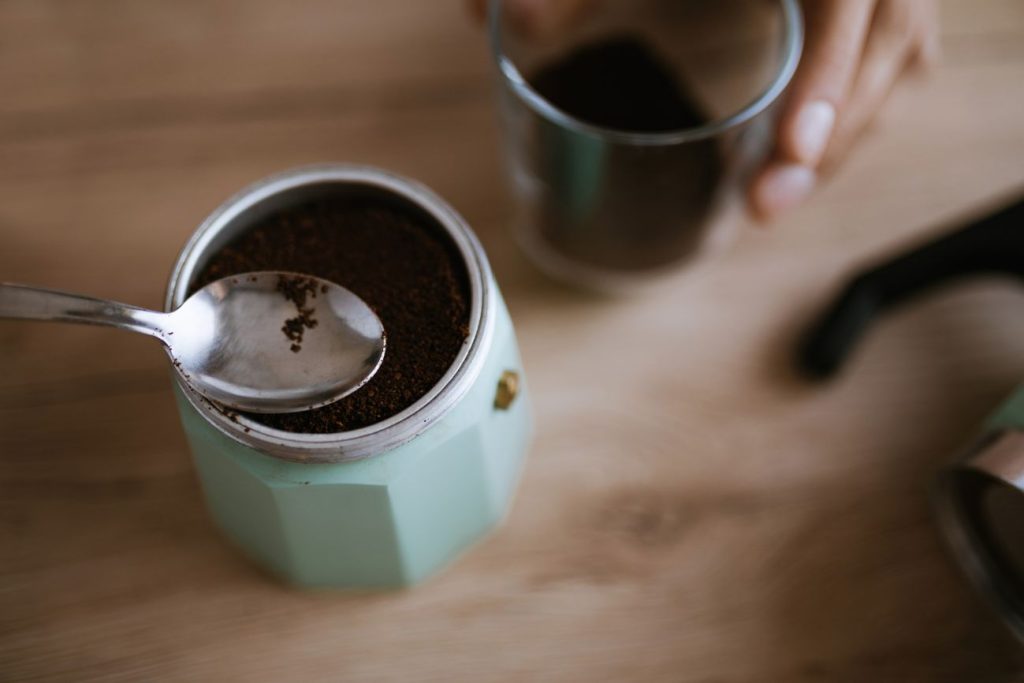
Pre-ground coffee loses flavor fast. Within a week or two of being ground, it’s already noticeably flat. Whole beans stay fresh much longer, and grinding right before you brew unlocks the flavor you’re actually paying for.
You don’t need an expensive grinder to start. A hand grinder in the $30 to $50 range will outperform pre-ground coffee every time. If you’re willing to spend a bit more, an entry-level electric grinder around $100 makes daily brewing faster and more consistent.
The main thing to understand is grind size. Different brewing methods need different grind sizes. Espresso needs very fine grounds. Pour over needs medium. French press needs coarse. A decent grinder lets you adjust this, which means you’re not locked into one brewing style forever.
If you want to go deeper into grinder types, burr vs blade, and what to look for at different price points, I’ve written a full breakdown here: Coffee Grinders (2026): What I Wish Someone Had Told Me Before I Bought My First One. And if you’re confused about grind size and how it affects your coffee, this guide explains it clearly: the 7 Coffee Grind Size You should know for Perfect Brewing at Home.
2. A Brewing Device
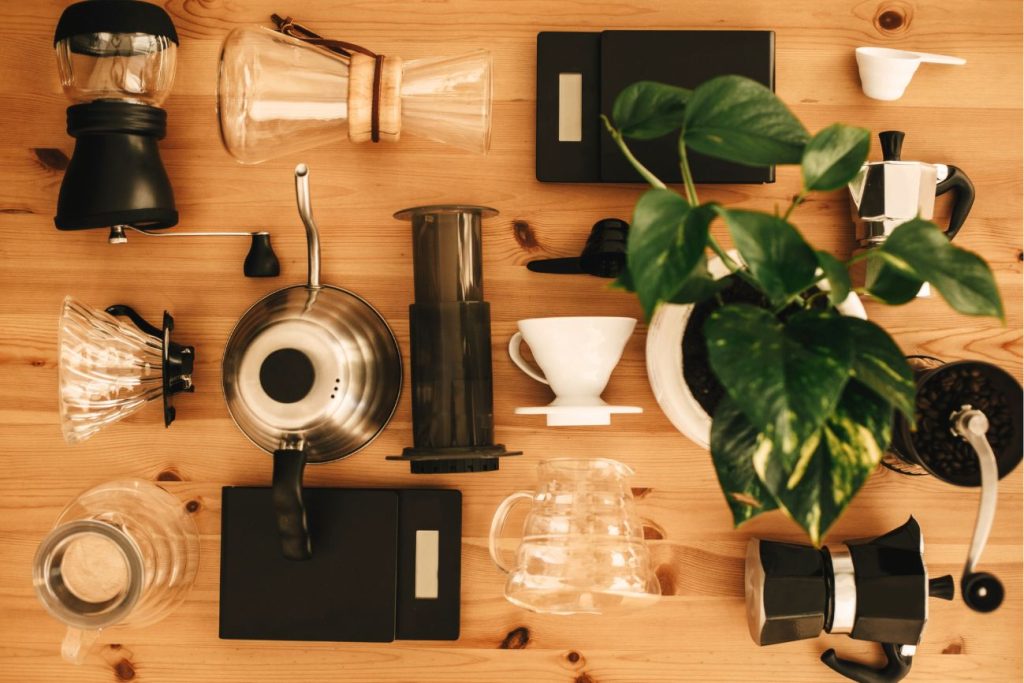
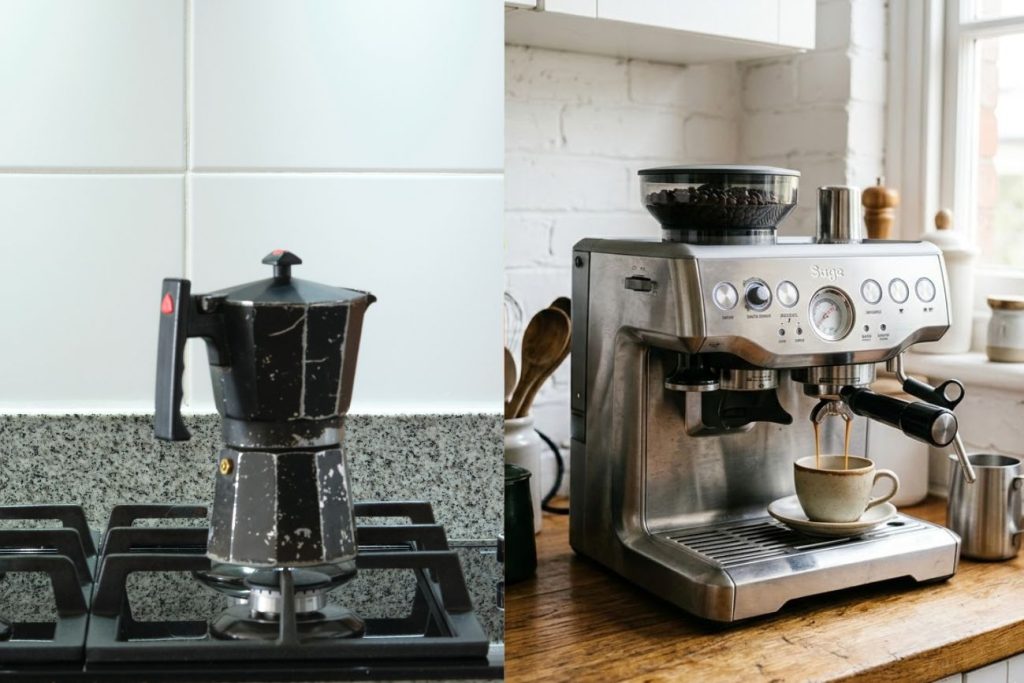
This is the tool that actually makes your coffee. It could be a drip machine, a pour over cone, a French press, an AeroPress, a moka pot, or an espresso machine.
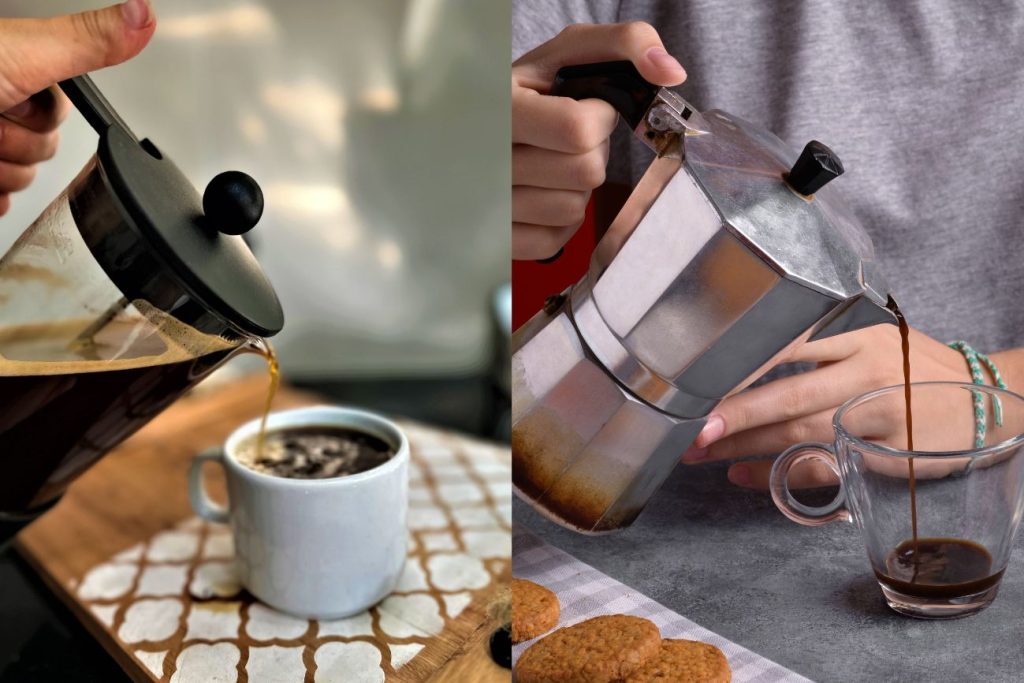
Each method produces a different kind of coffee. Drip machines are hands-off and consistent. Pour over gives you more control and a cleaner cup. French press makes heavier, fuller-bodied coffee. AeroPress is fast and forgiving. Moka pots make strong, espresso-like coffee on the stove. Espresso machines make actual espresso, but they’re more involved.
Most beginners should start with something simple and inexpensive. A pour over cone, French press, or AeroPress all cost under $40 and teach you the basics without requiring much counter space or cleanup time.
If you’re not sure which brewing method fits your taste or lifestyle, I’ve written a full guide that walks through all the main options and who they’re best for: Coffee Brewing Methods. That guide will help you narrow it down based on what kind of coffee you like and how much effort you want to put in each morning.
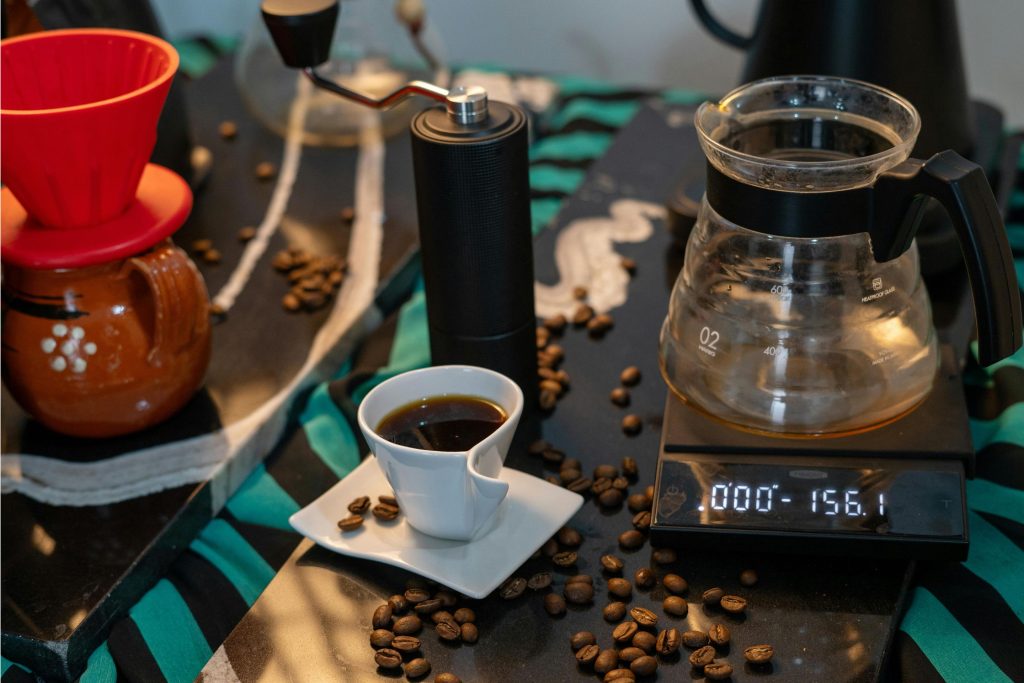
3. A Kettle (and Ideally a Scale)
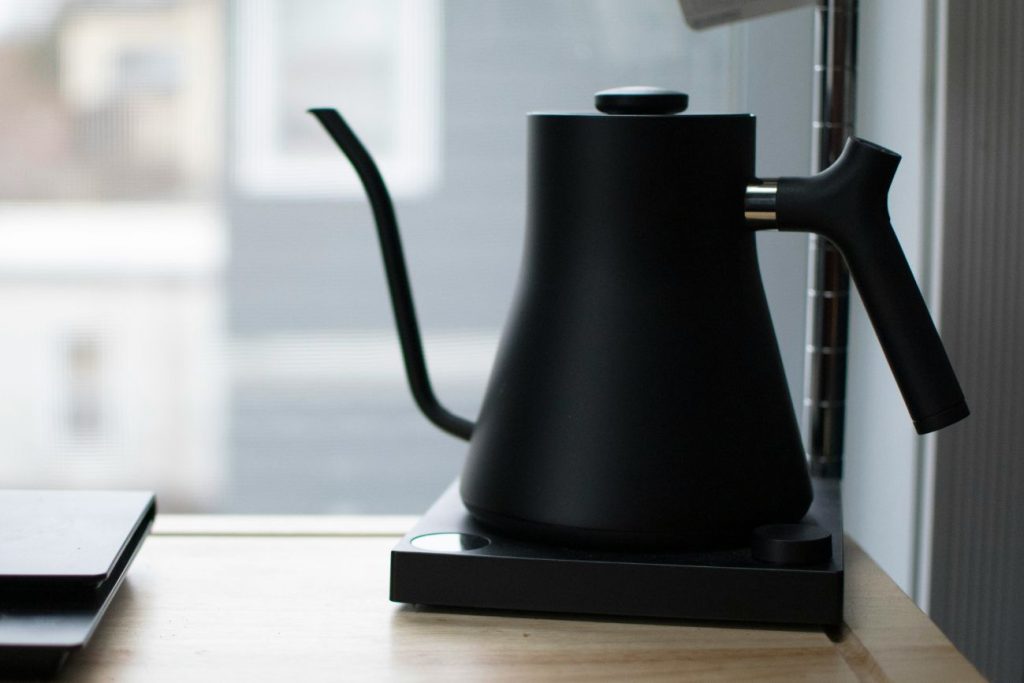
You need a way to heat water. A regular stovetop kettle works fine for most methods. If you’re doing pour over, an electric kettle with a gooseneck spout gives you better control, but it’s not required on day one.
Temperature matters more than most people realize. Boiling water can scorch your coffee and make it bitter. Letting it cool for 30 seconds after boiling usually gets you in the right range. Some electric kettles let you set a specific temperature, which removes the guesswork.
A scale isn’t technically essential, but it makes a big difference in consistency. Measuring your coffee and water by weight instead of scoops or eyeballing it means you can repeat what works and fix what doesn’t. You can find a basic digital scale for $15 to $20. It doesn’t need to be fancy.
If you’re deciding between an electric kettle and a stovetop one, or you’re wondering if a gooseneck spout actually matters, I’ve written a detailed comparison here: Electric vs. Stovetop Kettles: How to Choose the Best One for Your Coffee. And if you want recommendations on scales that actually work for home brewing, this guide covers the reliable options: The 5 Best Coffee Scales for Home Brewing and Why You Need One.
4. Fresh Beans and Proper Storage
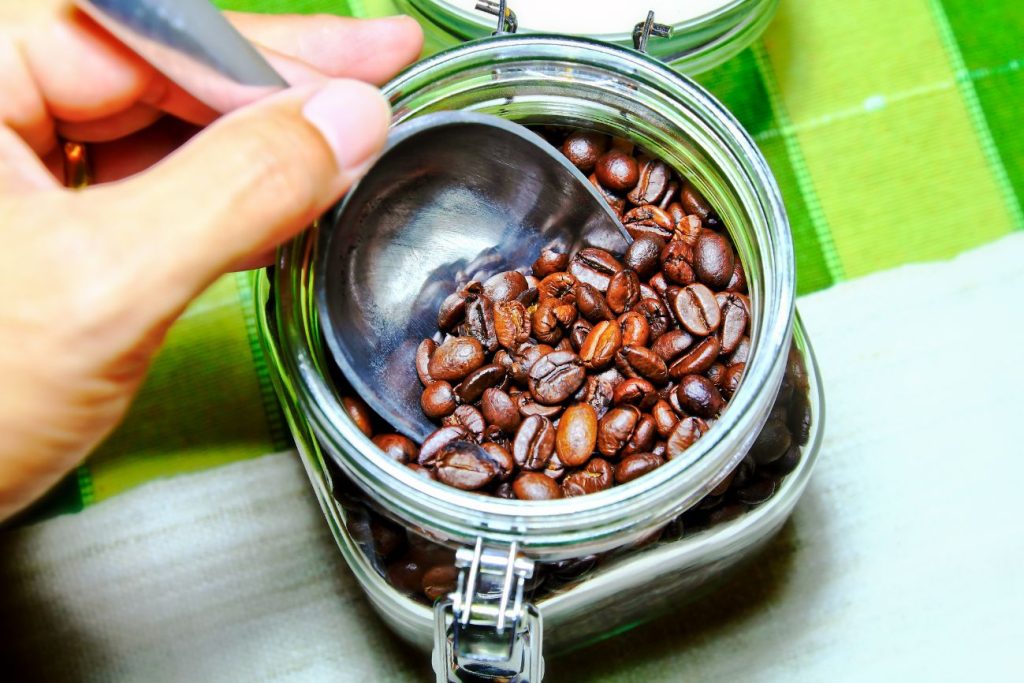
Gear doesn’t matter if your beans are stale. Coffee starts losing flavor as soon as it’s roasted, and that process speeds up once you open the bag.
Buy whole beans in quantities you’ll use within two to three weeks. Look for a roast date on the bag, not just a best-by date. Local roasters usually have fresher beans than grocery store brands, but plenty of good roasters also sell online and ship quickly.
Store your beans in an airtight container in a cool, dark place. Not the fridge, not the freezer unless you’re storing for longer than a month. Room temperature in a sealed container is best for day-to-day use.
If you want to understand how to keep your beans fresh longer and avoid the most common storage mistakes, I’ve written a guide that covers it in detail: 7 Simple Storage Hacks to Keep Coffee Beans Fresh Longer.
Beginner Coffee Setup by Budget
Your budget doesn’t have to dictate quality, but it does shape your options. Here’s what a realistic setup looks like at three different price points. These aren’t aspirational. They’re what I’d actually recommend to someone starting out.
Under $100
This budget gets you functional gear that makes good coffee. You’ll be doing a bit more manually, but that’s not a bad thing when you’re learning.
What to buy:
- Hand grinder: $30–$50
- AeroPress or pour over cone: $30–$40
- Basic kitchen scale: $15–$20
- Stovetop kettle (if you don’t have one): $20–$30
This setup is compact, easy to clean, and teaches you the fundamentals. You’ll grind by hand, which takes a minute or two, but you’ll also start noticing how grind size affects flavor. The AeroPress is nearly foolproof and makes consistently good coffee. A pour over cone is even simpler and takes up almost no space.
If you’re looking for a coffee maker that doesn’t require much investment but still makes solid coffee, I’ve covered the best options here: The Best Cheap Coffee Maker for Beginners Under $100: Our Top 5 Picks.
Under $300
At this budget, you can add an electric grinder, which makes daily brewing faster and more consistent. You also have room for a better brewing device or a more capable drip machine.
What to buy:
- Entry-level electric burr grinder: $100–$140
- Automatic drip coffee maker or higher-end pour over setup: $80–$120
- Digital scale with timer: $25–$40
- Electric kettle (optional but helpful): $40–$60
This is a comfortable middle ground. You’re not overspending, but you’re also not fighting with your gear every morning. An electric grinder removes the friction of hand grinding. A good drip machine lets you walk away while it brews. An electric kettle with temperature control gives you more precision if you want it.
For solid drip machines that don’t cost a fortune but still make good coffee, I’ve written a guide here: Best Affordable Drip Coffee Makers. And if you’re interested in automatic pour over machines that do the technique for you, this guide covers the reliable ones: Best Automatic Pour-Over Coffee Makers Reviewed .
Under $500
This budget opens up espresso, which is more involved but also more rewarding if that’s the kind of coffee you want to make at home.
What to buy:
- Burr grinder with espresso capability: $150–$200
- Entry-level espresso machine or high-end drip/pour over setup: $250–$350
- Quality scale: $40–$50
- Gooseneck electric kettle: $50–$70
At this level, you’re not compromising much. You can make espresso-based drinks, dial in your grind with precision, and have gear that lasts years. Espresso takes more practice than other methods, but if you’re drawn to it, this budget gets you started properly.
If you’re considering espresso and want to understand what’s realistic at the beginner level, I’ve written a guide that covers the best entry-level machines and what to expect: The 5 Best Espresso Machines for Beginners (That I’ve Actually Tested).
Beginner Setups by Lifestyle
Budget matters, but so does where and how you’re actually making coffee. A setup that works in a spacious kitchen might not fit in a small apartment. Something that’s perfect at home might be useless on a camping trip. Here’s how to think about your setup based on your actual living situation.
Small Kitchens
If counter space is limited, you need gear that earns its place. Bulky drip machines and appliances that only do one thing don’t make sense when every inch matters.
What works:
- Hand grinder or compact electric grinder
- AeroPress, pour over cone, or small French press
- Collapsible or stovetop kettle
- Small digital scale that stores flat
The AeroPress is one of the best small-kitchen tools because it brews directly into your mug, cleans up in seconds, and stores in a drawer. A pour over cone takes up almost no space and sits right on top of your cup. Hand grinders are small and quiet, which matters in apartments.
The key is avoiding anything that needs to live on the counter permanently. If you can put it away after using it, it’s probably a better fit for a small space.
Apartment Living
Apartments bring their own challenges. You might have noise restrictions, shared walls, or limited storage. You also might not have a lot of cabinet space for extra gear.
What works:
- Quiet electric grinder or hand grinder (for early mornings)
- AeroPress, drip machine, or moka pot
- Electric kettle with auto-shutoff (safer than stovetop)
- Multi-use scale (one you can use for cooking too)
If noise is a concern, hand grinders are silent. Some electric grinders are quieter than others, but most still make noise. Brewing methods like AeroPress and drip machines are quiet. Moka pots make some noise but not much. Espresso machines are loud, especially when steaming milk.
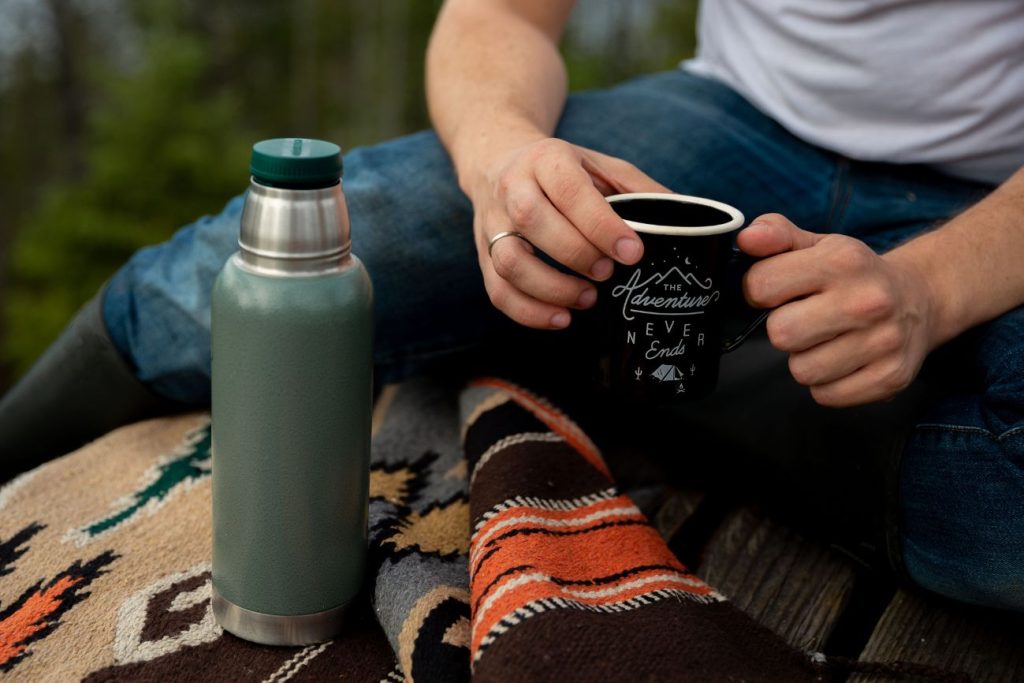
Travel and Temporary Spaces
I’ve brewed coffee in dozens of Airbnbs, hotel rooms, and temporary kitchens. You need gear that’s durable, compact, and doesn’t rely on having a full kitchen setup.
What works:
- Hand grinder (portable, no power needed)
- AeroPress (indestructible, fits in a backpack)
- Small digital scale (optional but helpful)
- Collapsible silicone kettle or just use what’s available
The AeroPress was designed for travel. It’s light, nearly indestructible, and brews great coffee with minimal effort. A hand grinder adds a bit of weight but makes a huge difference in flavor. If you’re staying somewhere for more than a few days, it’s worth bringing.
I’ve written a detailed guide on traveling with an AeroPress and what else you need to make it work: How to Use an AeroPress for Travel: The Ultimate Brewing Guide for Travelers and Campers.
Camping and Outdoor Brewing
Camping is one of the few situations where you might not want to bring a grinder at all. Pre-ground coffee loses flavor fast, but if you’re only out for a weekend, it’s not a dealbreaker. Simplicity and weight matter more than perfection.
What works:
- Pre-ground coffee (or hand grinder if you don’t mind the weight)
- AeroPress, pour over cone, or instant coffee
- No scale needed
- Boil water over your camp stove or fire
You can also make coffee without any gear at all if you’re willing to get creative. Cowboy coffee, coffee bags, and other low-tech methods work surprisingly well outdoors. I’ve written a guide that covers the easiest ways to make coffee while camping or hiking without hauling extra equipment: Hiking Coffee: 4 Easy Ways to Make Coffee Without Equipment.
Common Beginner Mistakes
Most beginner mistakes come from misunderstanding what actually matters. You can avoid a lot of frustration by knowing where to focus your attention and where to relax.
Buying Too Much Too Soon
The most common mistake is buying a full espresso setup, a high-end grinder, a precision scale, and a temperature-controlled kettle all at once. You end up spending $800 before you’ve made your first cup, and you don’t yet know what you actually like.
Start small. Get a grinder and a simple brewing device. Make coffee for a few weeks. Figure out what you enjoy and what frustrates you. Then add or upgrade one thing at a time. You’ll waste less money and learn faster.
Skipping the Grinder
People will spend $200 on a coffee maker and then buy pre-ground coffee from the grocery store. The coffee maker doesn’t matter if the coffee is already stale.
If your budget is tight, get a cheaper brewing device and a better grinder. You’ll make better coffee with a $30 pour over cone and a $50 hand grinder than you will with a $200 drip machine and pre-ground beans.
Over-Measuring or Under-Measuring
Some beginners obsess over precision to the point where it stops being fun. Others eyeball everything and can’t figure out why their coffee tastes different every time.
A scale helps. You don’t need to weigh your water to the tenth of a gram, but knowing you’re using 15 grams of coffee instead of “two scoops” means you can repeat what works. Most good coffee falls somewhere between a 1:15 and 1:17 ratio of coffee to water. Start there and adjust based on taste.
Ignoring Water Temperature
Boiling water makes coffee bitter. Water that’s too cool makes it weak and sour. Somewhere between 195°F and 205°F is ideal for most brewing methods. If you don’t have a thermometer, let your water sit for 30 seconds after it boils. That’s usually close enough.
Not Cleaning Your Gear
Old coffee oils build up in grinders and brewing devices. They go rancid and make your coffee taste stale or sour no matter how fresh your beans are.
Rinse your brewing device after every use. Take apart your grinder and brush out the grounds every week or two. Deep clean your gear once a month. It takes five minutes and makes a noticeable difference.
I’ve written a full guide on the most common mistakes beginners make and how to fix them: 10 Coffee Brewing Mistakes You’re Probably Making (And How to Fix Them). If you’re specifically interested in espresso, this guide covers the mistakes that trip up most beginners: Espresso Mistakes to Avoid: How to Troubleshoot and Fix Bad Shots at Home.
Recommended Beginner Gear (By Brewing Method)
Once you understand the essentials and have a sense of your budget and lifestyle, the next step is choosing your actual brewing device. Here’s what I’d recommend for the most popular beginner-friendly methods.
Pod Machines (Easiest, Least Involved)
Pod machines make coffee with almost no effort. You put in a pod, press a button, and you’re done. They’re not the cheapest per cup, and the coffee isn’t as good as fresh-ground beans, but they’re consistent and foolproof.
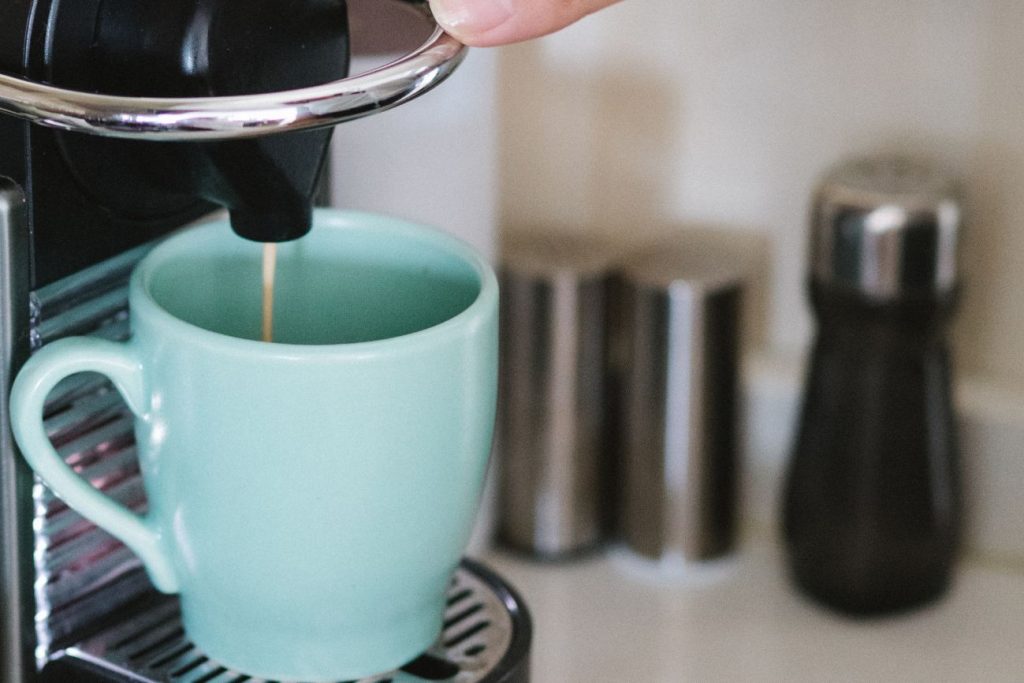
If convenience is your top priority and you’re okay with the cost of pods, this is the easiest place to start. Just know that you’re trading flavor and cost efficiency for simplicity.
I’ve written a guide that covers the best pod machines and when they actually make sense: The Best Coffee Pod Machines for First-Time Buyers.
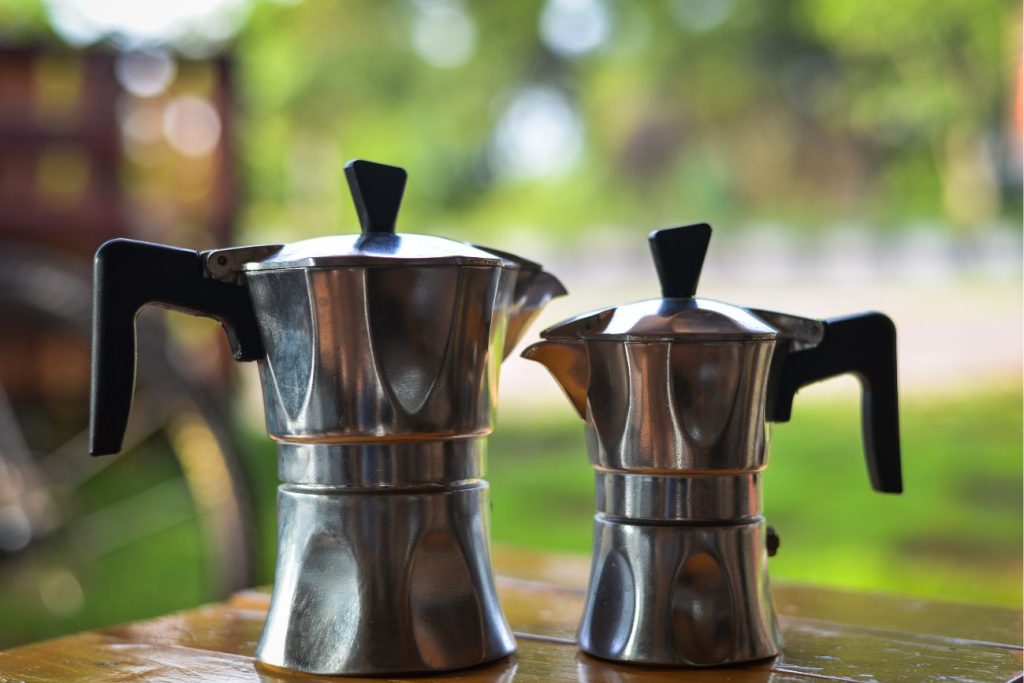
Moka Pot (Strong Coffee, Stovetop)
A moka pot makes strong, concentrated coffee that’s close to espresso. It brews on the stove in about five minutes and costs $30 to $50. It’s not technically espresso because it doesn’t generate enough pressure, but it’s strong, rich, and works without electricity.
Moka pots are great for small kitchens, travel, and anyone who wants bold coffee without the cost and complexity of an espresso machine. They do take a bit of practice to get right, but once you dial it in, they’re very consistent.
I’ve written a detailed guide on choosing and using moka pots: The Best Moka Pots for Every Budget and Coffee Lover: Top 4 Picks.
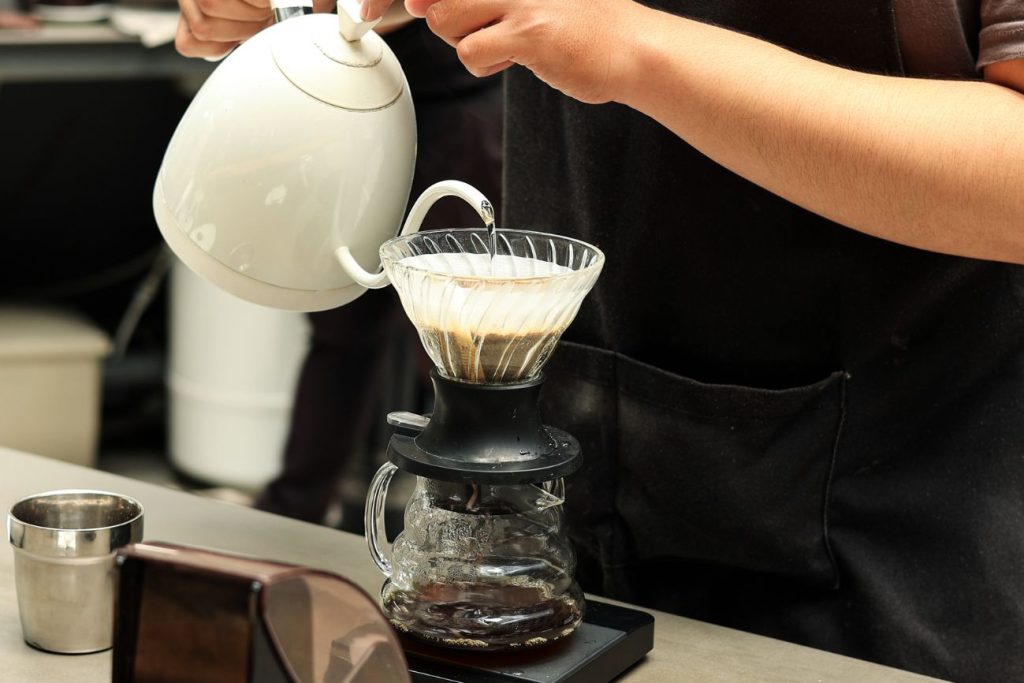
Pour Over (Clean, Controlled, Hands-On)
Pour over coffee is bright, clean, and lets you taste the details of your beans. You pour hot water over the grounds in a slow, circular motion. It takes about three to four minutes and gives you a lot of control over the flavor.
The gear is simple. You need a pour over cone (like a V60 or Chemex), paper filters, a kettle, and a scale. Total cost is under $50. The process is meditative if you’re into that, or just straightforward if you’re not.
Pour over works best when you care about clarity and flavor and don’t mind being present for the brewing process.
I’ve written a guide that covers the best pour over setups for beginners and more experienced brewers: Best Pour-Over Coffee Makers: 6 Expert-Recommended Picks for Beginners to Pros.
Frequently Asked Questions
Is grinding really necessary?
Yes, if you care about flavor. Whole beans stay fresh much longer than pre-ground coffee. Grinding right before you brew makes a noticeable difference in taste, aroma, and clarity. You don’t need an expensive grinder to start, but you do need to grind fresh.
Is espresso too hard for beginners?
Espresso is more involved than other brewing methods, but it’s not impossible. The main challenges are dialing in your grind, managing water temperature and pressure, and learning to steam milk if you want lattes or cappuccinos.
If you’re drawn to espresso, start with an entry-level machine and expect a learning curve. If you’re not sure yet, try other methods first. Pour over, AeroPress, and moka pots are all easier and still make excellent coffee.
What’s the easiest method to clean?
AeroPress and pour over are the easiest. AeroPress cleans up in about 10 seconds. You press the grounds into the trash, rinse the plunger, and you’re done. Pour over just needs a quick rinse after you throw out the filter.
French press takes a bit more effort because you have to clean the mesh filter. Espresso machines require the most maintenance because you’re dealing with milk residue and need to backflush regularly.
How long does coffee gear last?
It depends on what you buy and how you treat it. A good burr grinder should last five to ten years. Pour over cones and French presses last indefinitely unless you break them. AeroPress units are nearly indestructible. Drip machines and espresso machines usually last three to seven years with regular cleaning.
Buy decent gear, clean it regularly, and it’ll last.
Do I need a gooseneck kettle?
For pour over, a gooseneck spout gives you better control. You can pour slowly and precisely, which helps with even extraction. But you don’t need one to start. A regular kettle works fine while you’re learning. If you get serious about pour over, a gooseneck kettle is a worthwhile upgrade.
For other brewing methods, it doesn’t matter much. French press, AeroPress, and moka pots don’t require precision pouring.
Should I buy light roast or dark roast beans?
This is personal preference. Light roasts are brighter, more acidic, and show off the origin characteristics of the coffee. Dark roasts are heavier, less acidic, and taste more roasted and chocolatey.
Most specialty coffee leans light to medium because it preserves more flavor. Most grocery store coffee is dark because it’s easier to roast consistently in large batches. Try both and see what you like.
How much coffee should I use?
A good starting point is 15 to 17 grams of coffee for every 250 grams (about one cup) of water. That’s roughly a 1:15 to 1:17 ratio. If your coffee tastes weak, use more coffee or grind finer. If it tastes too strong or bitter, use less coffee or grind coarser.
You don’t need to be exact to the gram, but using a scale instead of scoops helps you stay consistent.
Already Comfortable Brewing? Explore All Coffee Brewing Methods
If you’ve been making coffee for a while and you’re ready to explore other brewing methods, or if you want a deeper understanding of how each method works and what it’s best for, I’ve written a complete guide that walks through all the main options.
That guide covers pour over, French press, AeroPress, espresso, moka pot, cold brew, and more. It’s written for people who want to understand their choices without wading through marketing or gear reviews.
Our Featured Articles
Here’s a quick overview of the most popular brewing methods. Click through to explore each one in more detail and find the perfect way to enjoy your coffee.
How to Master the Pour-Over Coffee Method: A Complete Brewing Guide (2026)
Most people making pour-over at home are doing at least two things wrong. Not because…
Moka Pot vs Espresso: After 15 Years Making Both, Here’s the Honest Difference
Most coffee debates aren’t really about flavor. They’re about defending purchases. Someone buys an expensive…
Moka Pot Sizes Explained (And How to buy the right One)
Buying the wrong moka pot size is one of the most common mistakes I see…
French Press vs. Moka Pot: Which One Is Actually Right for You?
Coffee is the first thing that coffee enthusiasts think of when they wake up. There…
20 Moka Pot Tips to Brew Better Coffee at Home
The humble Moka pot is an iconic piece of Italian coffee culture and a staple…
Turkish Coffee: Brewing Guide, Traditions, and Cultural Significance Explained
If you’ve ever heard the term “Turkish coffee” or watched a Turkish serial, you’ll want…