Has it ever happened that as soon as you wake up in the morning, you intensely crave a cup of coffee? But then you remember, you don’t even have a coffee-making machine. And those coffees from the shop are so expensive and tasteless. On top of that, you don’t have the money to buy one of those big coffee machines because they are quite costly. And even if you do have the money to buy a big espresso machine, keeping it clean and maintaining it is no easy task. On top of that, who feels like putting in so much effort and spending so much time early in the morning just to make a single cup of coffee?
If your thoughts align with the ones mentioned above, then let us introduce you to a solution for this problem.
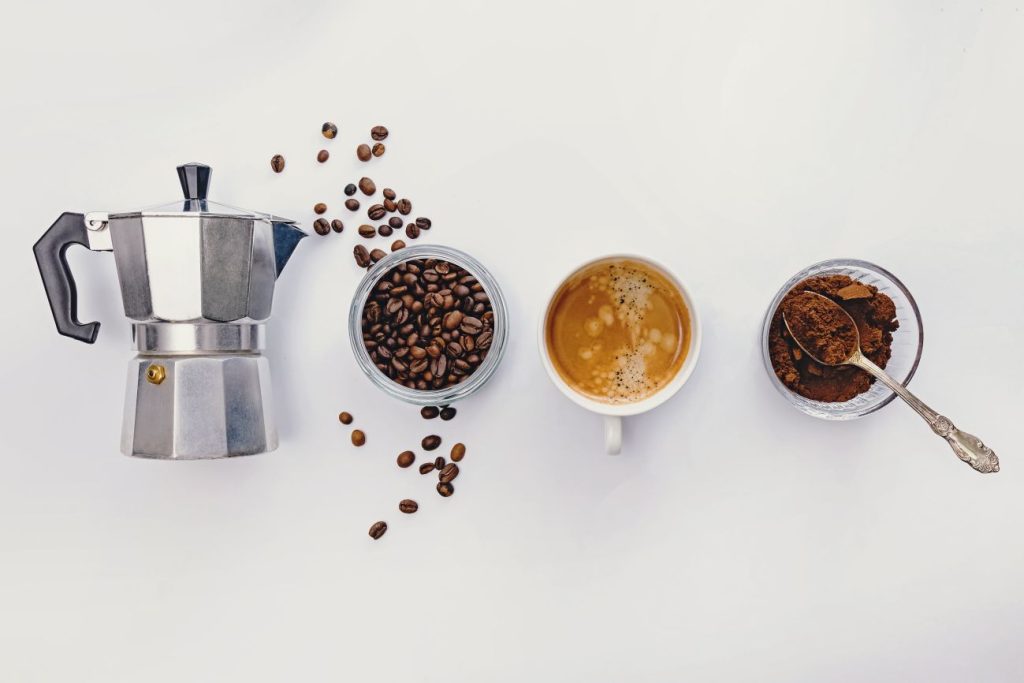
We have come up with an easy solution for you, and the solution is named Moka Pot. Today, we’ll talk about how to brew a delicious cup of coffee without spending a lot of money or the time necessary to make each cup.
What is Moka Pot?
The Moka pot (also known as stovetop express maker) is a less costly and more compact version of the espresso machine. Moka Pot was created in 1933 by Alfonso Bialetti in Italy using aluminum. Espresso coffee lovers could not afford to purchase other espresso machines, but Bialetti has made it possible. Thus, it is very popular throughout Italy.
This has been made user-friendly for everyone, even beginners. It’s really simple to use, maintain, and clean. And since it’s made of aluminum, you simply must purchase it as soon as it doesn’t break or die. It’s the greatest substitute for pricey espresso makers that are quite difficult to maintain, clean, and handle.
It takes some time to master the functions of the other large espresso machines, so not everyone can use them.

Moka Pot Design
A Moka pot has three main components:
- Bottom Chamber: Holds water and is heated to create steam pressure.
- Filter Basket: Contains coffee grounds.
- Top Chamber: Collects the brewed coffee.
How it works
- Three Parts: The Moka Pot has three main parts. Bottom Chamber (where you put water). Filter Basket (where you put ground coffee). Top Chamber (where the brewed coffee collects).
- Heating the Water: When you place the Moka Pot on the stove, the water in the bottom chamber heats up and starts turning into steam.
- Building Pressure: The steam creates pressure, pushing the hot water upward through the coffee grounds in the filter basket.
- Brewing Coffee: As the water moves through the coffee, it picks up the flavors and oils, becoming coffee.
- Coffee in the Top Chamber: The brewed coffee travels up and collects in the top chamber, ready for you to pour and enjoy.
What You’ll Need
Before you start brewing, gather the following:
- A Moka Pot (available in various sizes for different serving needs)
- Medium-fine ground coffee (slightly coarser than espresso grind)
- Fresh, filtered water
- A heat source (gas or electric stovetop) will be used to boil the water.
- Measuring jug or scale: This will be used to measure the coffee and water ratio.
- Kettle
- Mug
- Spoon
- Coffee Grinder
A Beginner’s Step-by-Step Guide to Moka Pot Coffee Brewing
Let’s get started with the recipe for the easy Moka Pot brewing and best Moka Pot coffee.
Step1 – Measuring and Grinding Beans
- Grinding and measuring the beans is the first step in the procedure. First, take your beans. For the finest flavor, I suggest using dark-roasted or espresso-roasted beans.
- And then measure them based on your preferred coffee ratio. You don’t need to worry about the coffee ratio if you don’t know about it. The article on our website (Coffee Brewing Basics 101: Everything You Need to Know as a Beginner) already discusses coffee and water rationing. You can begin your recipe after choosing a ratio.
- To achieve the best flavor, grind the beans a little coarser than espresso after measuring them. I suggest using freshly roasted beans to enhance the flavor of your Moka Pot coffee.

Step 2 – Fill the Bottom Chamber
- Filling the bottom chamber of the Moka Pot is our second step. For the finest coffee flavor, I prefer using preheating water to have cleaner taste and save my time to wait for boiling.
- Unscrew the bottom chamber of the Moka Pot.
- And add the water to the safety valve. Avoid overfilling, as this can affect brewing.
- Using filtered water can enhance the flavor and reduce mineral buildup.

Step 3 – Add Coffee Grounds
- Your third step is to fill the filter basket with medium-fine and fresh coffee grounds.
- Now Level the coffee without pressing it down. Over-packing can obstruct water flow.
- Wipe away any ground on the rim to ensure a tight seal.

Step 4 -Assemble the Moka Pot
- After adding the coffee grounds, place the filter basket into the bottom chamber.
- Make sure that you have screwed on the top chamber tightly, ensuring a secure fit to prevent leaks.

Step 5 – Heat the Moka Pot
- Place the Moka Pot on a stovetop and turn it on to a medium heat. Ensure the handle isn’t exposed to direct heat.
- As the water heats, it creates steam that pushes through the coffee grounds.
- You’ll hear a bubbling sound as coffee begins to flow into the top chamber.
- You won’t be able to ignore the urge to grab some and start drinking as soon as you hear the gurgling sounds and smell the aroma of Moka Pot. But hold off till the perfect time.

Step 6 -Monitor the Brew
- Once you start hearing the bubbling sound become gurgling, remove the Moka Pot from the heat immediately. It means your coffee is calling out to you, saying it’s almost ready!
- Your coffee will overheat if you don’t remove the Moka Pot from the heat as you hear a gurgling sound. So, avoid overheating, as this can result in bitter coffee.
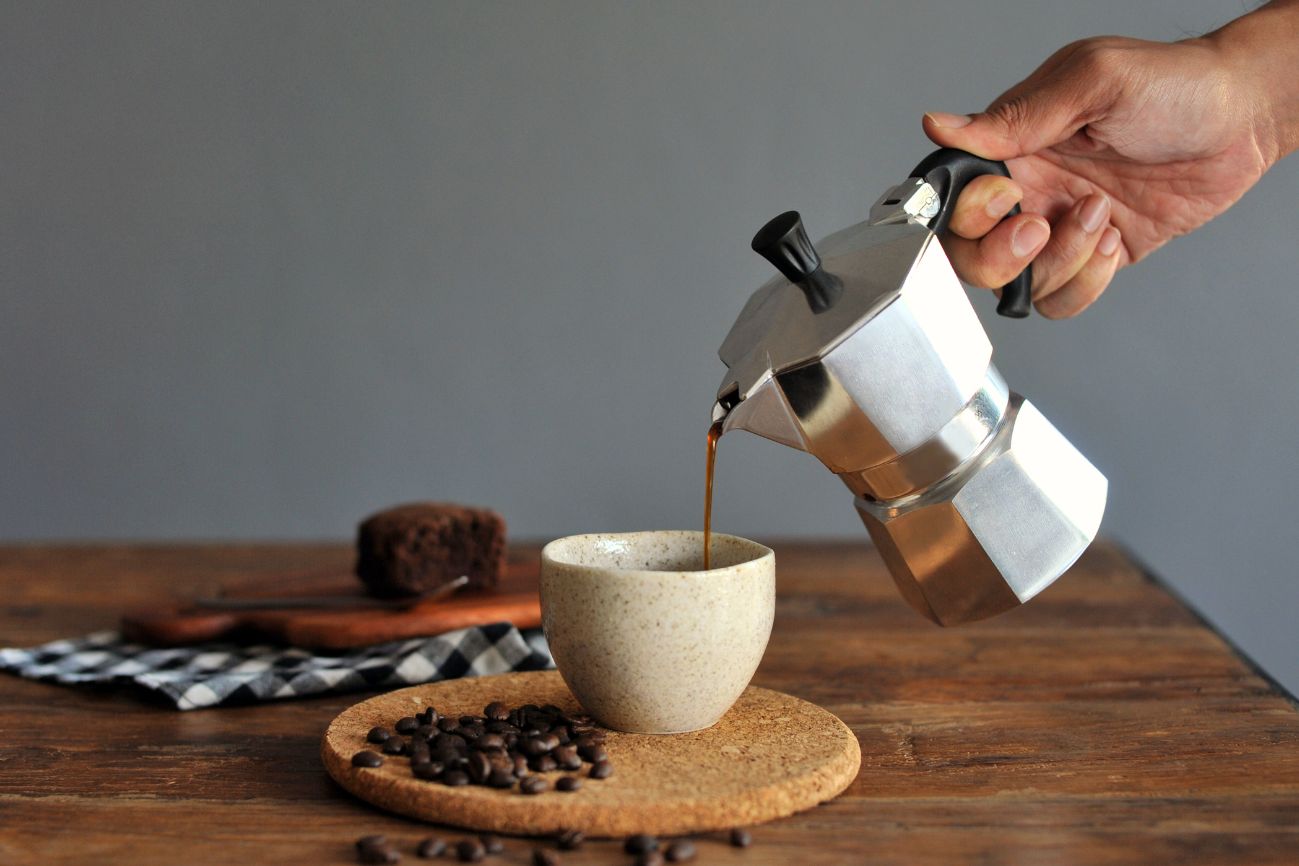
Step 7 – Serve and Enjoy
- Your wait has now ended. Simply pour your freshly brewed coffee into your cup and start enjoying.
- Enjoy it as is, or use it as a base for your favorite coffee drinks like lattes or macchiatos.
- For coffee lovers, this is more than simply a cup of coffee, it’s an emotion and an addiction, with strong, rich espresso flavors all in one.

Why Choose a Moka Pot?
- Cost-Effective: This espresso maker was created especially for you if you are unable to purchase another expensive one. Compared to expensive espresso machines, Moka Pots are affordable and durable.
- Compact Design: Its compact size allows you to adjust it wherever. It can even fit in your tiny space and be carried in your backpack. Its small size makes it ideal for home kitchens and even travel.
- Rich Flavor: If you enjoy strong coffee flavors, you may get a robust and aromatic cup of coffee with this little pot, just like with other espresso machines.
- Eco-Friendly: You won’t need to purchase paper filters each time you brew coffee because of its stainless steel filters. Thus, it’s a sustainable option and very eco-friendly.
- Versatility: It’s perfect for making a strong coffee base for lattes, cappuccinos, or even iced coffee.
Moka Pot Coffee Brewing Tips for Beginners
- Choose Quality Coffee: Always use fresh ground, high-quality coffee beans, because it will provide you with the most rich and flavorful coffee.
- Don’t Overpack the Basket: Pressing the coffee too tightly can block water flow and affect the brew, so don’t make this mistake.
- Use Medium Heat: The coffee will burn if you use high heat, and it won’t be able to extract all the flavors from the coffee grounds if you use low heat. Therefore, it is advised to always use medium heat.
- Clean Regularly: Make sure to rinse all parts with warm water after each use to avoid residue buildup.
- Experiment: Adjust the grind size, coffee quantity, and water temperature to suit your taste preferences.

Common Mistakes to Avoid
- Using Boiling Water: When you use pre-boiled water, it speeds up the process and may cause the coffee to overheat and burn. Therefore, for the best Moka Pot brew, do not use pre-boiled water.
- Overfilling with Coffee: Additionally, coffee balance is necessary. Avoid using excessive amounts of coffee, as this can result in a bitter flavor.
- Ignoring Maintenance: Don’t ignore Moka pot maintenance and cleaning because the residue may damage the pot and change the coffee’s flavor.
- Leaving Coffee on the Heat: Avoid overheating your coffee, as this can cause the flavor to burn and over-extract, resulting in a bitter taste.
Cleaning and Maintenance
- Daily Cleaning: Rinse your pot with hot water as soon as you pour your coffee into your mug, then dispose of the wasted grounds in the trash. Make sure to rinse it well with warm water to get rid of any remaining coffee grounds or residue. Always keep it in a cool, dry place to extend its shelf life, and after rinsing it with hot water, thoroughly clean it with a dry cloth to make it dry.
- Deep Cleaning: You can occasionally use a mixture of water and vinegar to remove mineral deposits.
- Replace Gaskets: The rubber gasket can wear out over time. So, you should replace it as needed for a proper seal.
- Avoid Dishwashers: Dishwashers might harm your Moka Pot, so never use them to clean it.
Choosing the Right Moka Pot
Moka pot sizes and materials are mentioned here:
- Sizes: From 1-cup to 12-cup models, choose based on your daily coffee needs.
- Materials: Aluminum pots are traditional and lightweight, while stainless steel models are more durable and resistant to corrosion.
To find your perfect Moka Pot, check this out – The Best Moka Pots : Top 4 Picks for 2025

Final Thoughts
It’s really easy to use Moka Pot, it’s not difficult at all. It is simple for everyone to use. Here are some techniques and tips to maximize its advantages. You can make the best, strongest, and most flavorful cup of coffee at home by reading the information above on Moka Pot grind size, brewing technique, and starting tips. All of your questions regarding the best moka Pot for beginners and how to use a Moka Pot are answered above. So just read all the instructions, and you are good to go!
See our post on “Eco-friendly coffee makers for camping” for more details about the best Moka Pot coffee maker. This article also discusses the price, benefits, and drawbacks of the Bialetti Moka Pot.