Let’s be honest. The world of good coffee is overwhelming. It’s a rabbit hole of weird gadgets, confusing terms, and a thousand expert opinions on a thousand different blogs.
It’s enough to make anyone want to give up and just go back to the office pod machine.
This site is my mission to cut through all that noise. I’m not a barista, and I’m not a coffee snob. I’m just a guy who travels a lot, got sick of bad coffee, and spent years figuring out how to “fix” my daily brew.
Today, I’m sharing my 6 favorite easiest coffee brewing methods for beginners. And here’s the spoiler, you probably already own the first one.
The “Secret” to Good Coffee (It’s Not the Brewer)
I’m about to save you a thousand dollars and years of frustration. Your brewer is not the problem.
You can have a $5,000 espresso setup, but if you feed it stale, pre-ground coffee, it will taste like bitter, wet cardboard. I promise.
Conversely, you can use a $30 automatic drip machine and make one of the best cups of your life if you get these two simple things right.
1. Ditch Pre-Ground Coffee. (Seriously. Stop.)
Coffee is a food. It’s the roasted seed of a cherry. It goes stale.
That tub of pre-ground coffee you bought six months ago? It’s dead. All the delicate, aromatic oils that make coffee smell and taste like coffee evaporated weeks ago. All that’s left is the bitter, woody cellulose.
The Fix: Buy whole beans. Look for a “Roasted On” date on the bag. Try to use your coffee within 3-4 weeks of that date. It’s the single biggest upgrade you can make.
Go Deeper: Is Organic Coffee Really Better? (My Guide to the Best Beans)
2. Get a Real Grinder (A Burr Grinder)
This is the single most important piece of coffee gear you will ever own. Period.
That $20 spice grinder with a spinning blade? It’s a “blade grinder,” and it’s a coffee-killer. It doesn’t grind, it smashes your beans into a chaotic mess of giant boulders and fine dust.
This is why your coffee is a train wreck. The dust particles over-extract and turn bitter. The boulders under-extract and stay sour. Your cup is a confusing mess of both sour and bitter.
A burr grinder uses two heavy plates to crush the beans into a perfectly consistent, uniform size. This means every particle extracts at the same rate, giving you a balanced, sweet, and delicious cup.
You don’t just have to take my word for it. This principle of uniform extraction is the entire foundation of professional coffee. The Specialty Coffee Association (SCA), the global organization researched on the Golden Cup Standard is all about how to achieve a perfectly balanced extraction, and it all starts with a consistent, high-quality grind.
This is the “fix” to almost every brewing problem.
Go Deeper: The 5 Best Coffee Grinder for Perfect Home Brewing in 2025
Okay. You’ve got your whole beans. You’ve got your burr grinder. Now, let’s look at the methods.
My 6 Easiest Coffee Brewing Methods, Explained
1. The Automatic Drip Machine (The Kitchen Classic)
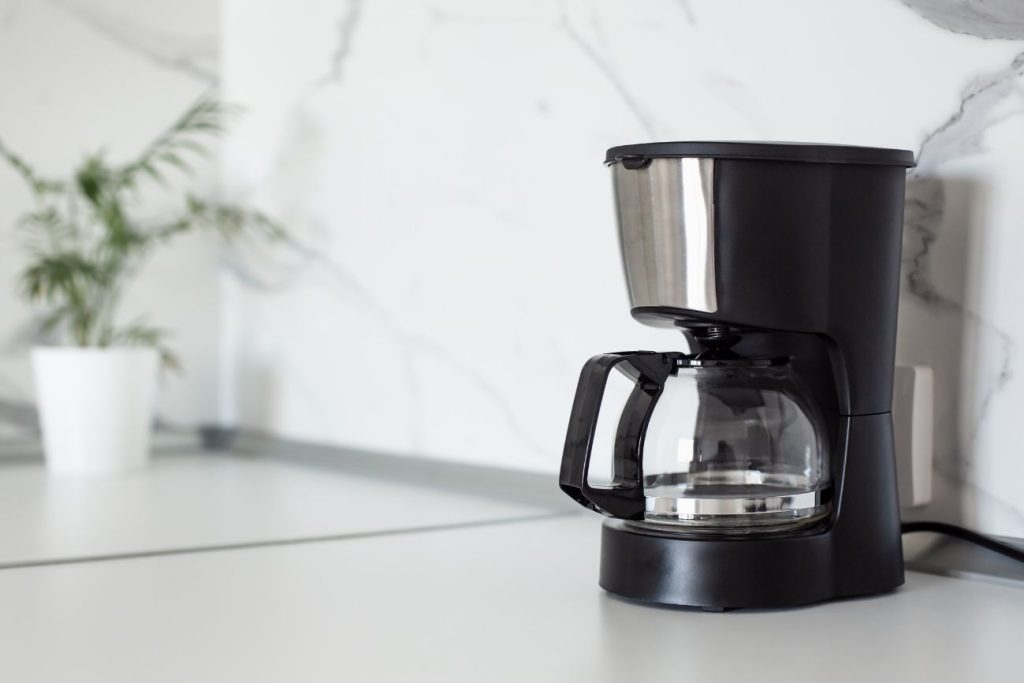
Yes, your $30 Mr. Coffee. This is the most popular, easiest, and most disrespected brewer on the planet. And I’m telling you, it can make great coffee.
- Best For: The automatic drip machine can brew 4-12 cups at once, no need to worry about the brewing process, it can be “set it and forget it” morning routine.
- The Taste: A familiar, clean, classic cup of coffee.
- How to “Fix” Your Drip Coffee:
- Use the Right Ratio: Don’t trust the “scoops” on the bag. Use a scale! The Golden Ratio is your new best friend. (A great start is 60 grams of coffee for every 1000 grams [1 Liter] of water).
- Grind Fresh: This is the big one. Grind your whole beans to a medium consistency (like sea salt) right before you brew. This one step will change your life.
- Use Filtered Water: Your coffee is 98% water. If your tap water tastes bad, your coffee will taste bad.
- Clean Your Machine! If your machine is caked with months of old, rancid oils, every new pot will taste bitter.
- Go Deeper (To Buy): Best Affordable Drip Coffee Makers Under $100
- Go Deeper (To Clean): How to Clean Your Coffee Maker (And Why It Tastes Bad)
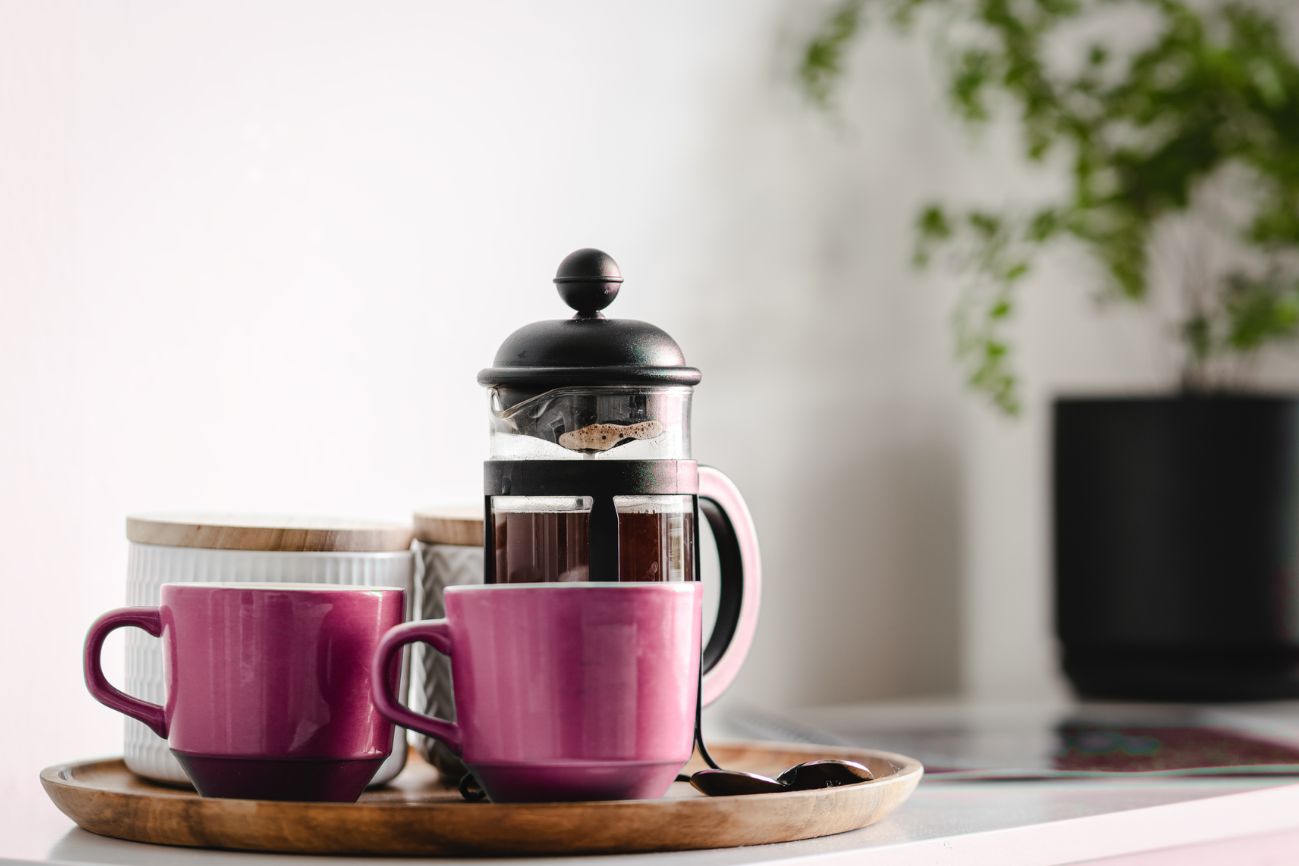
2. The French Press (The Classic “First Upgrade”)
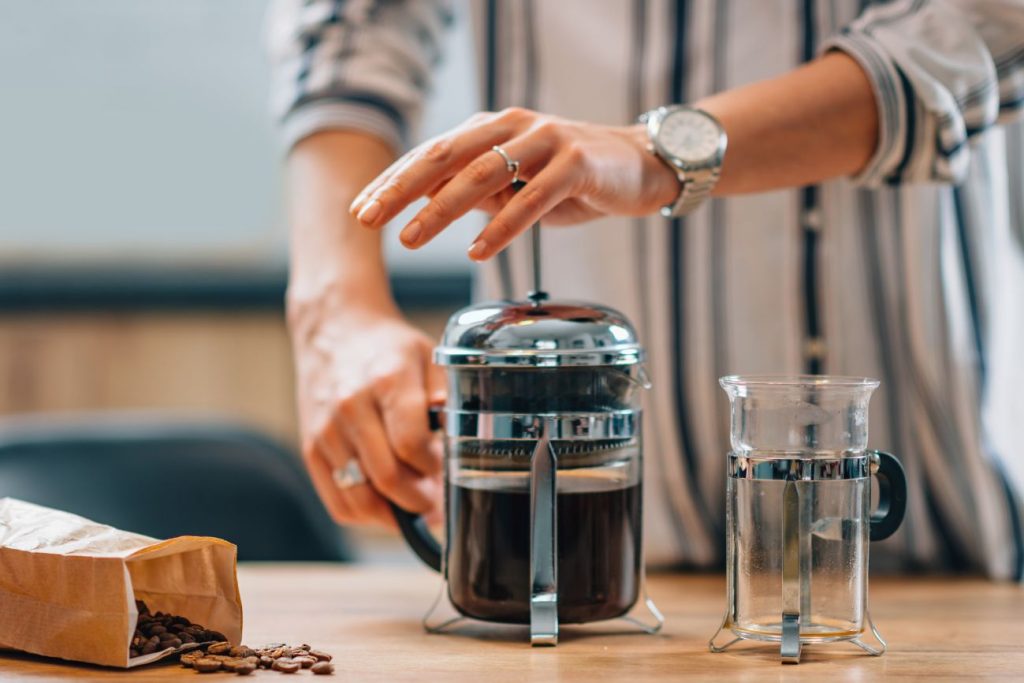
This is the classic, no-nonsense workhorse. It’s how many of us, myself included, first discovered that coffee could be so much better than the diner-drip we were used to.
- Best For: If you like a full-bodied, rich, and heavy cup, french press is for you. It’s simple, reliable, and great for brewing 2-4 cups at a time.
- The Taste: Bold and incredibly rich. The metal filter allows all the coffee’s natural oils (which a paper filter would trap) to pass into your cup.
- How to “Fix” It:
- The Problem: The no.1 complaint is a “muddy” or “sludgy” cup.
- My Fix:
- Use a coarse grind (like pretzel salt).
- After the 4-minute steep, decant all of the coffee immediately. Don’t let it sit in the press. It keeps brewing and gets bitter. This is the most common mistake!
- Go Deeper – How to Brew the Perfect French Press Coffee at Home: 10 easy Steps
3. Cold Brew (The “Easiest” Method)
Cold brew coffee is different. It is unlike iced coffee, prepared by icing the hot coffee. Cold brew, instead, uses cold water brewing, which is totally worth sipping because of the smoothness and sweetened taste.
This is, without question, the most technically easy method on the list. Its only ingredient is patience.
- Best For: A super-smooth, low-acid, and refreshing coffee. Perfect for hot days or for making a big batch to last all week.
- The Taste: Mellow, sweet, chocolaty, and almost zero bitterness or acidity.
- How to “Fix” It:
- The Problem: Your cold brew is weak or tastes “off.”
- My Fix:
- Use a coarse grind. A fine grind will turn into a bitter, muddy mess.
- Use a lot of coffee. A good starting ratio is 1:8 (1 part coffee to 8 parts water).
- Be patient. Let it steep in your fridge for 12 to 18 hours.
- Go Deeper: The Ultimate Guide to Cold Brew Coffee: Everything You Need to Know
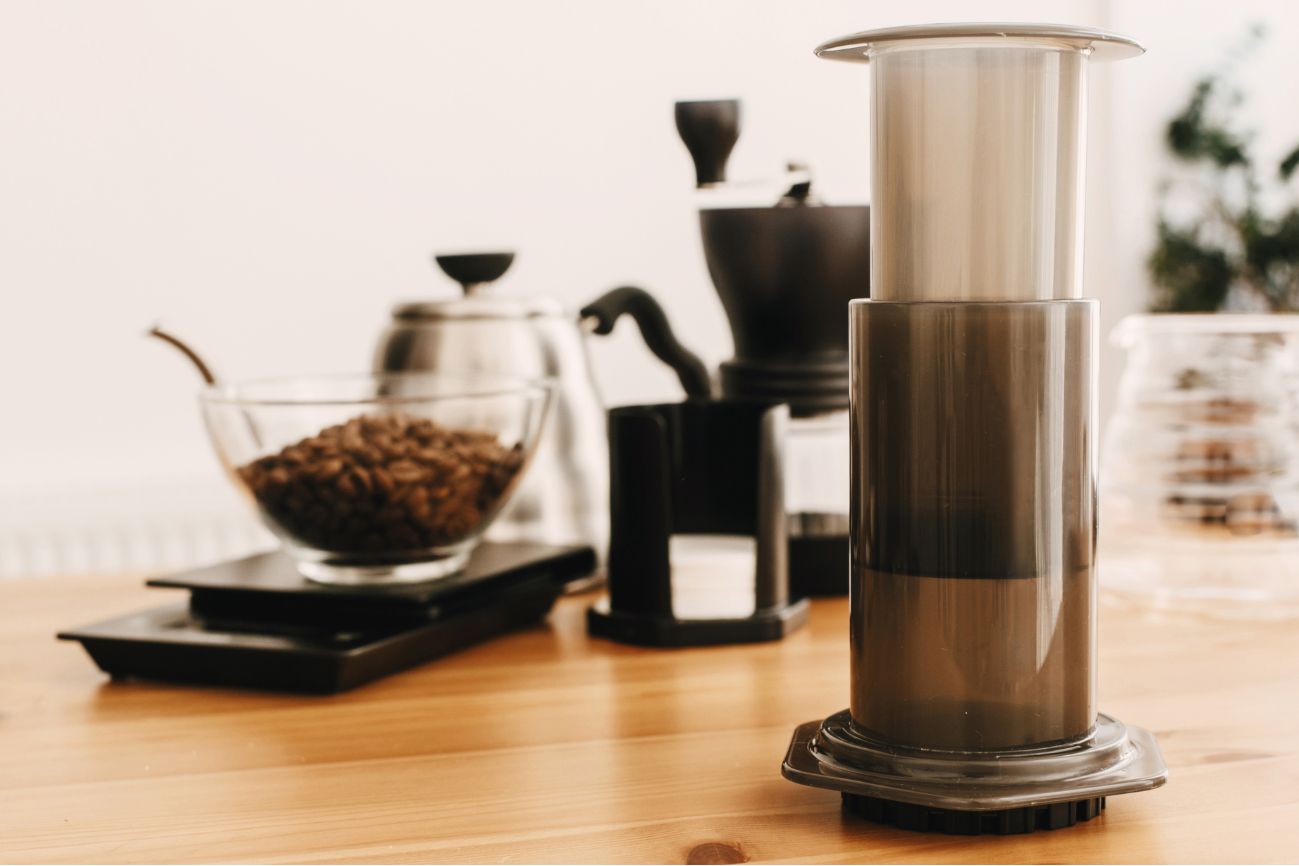
4. The AeroPress (My Personal Go-To “Fix”)

This is my “secret weapon.” It’s a $40 plastic tube, and I think it’s the greatest brewer ever invented. It’s the one I never travel without.
- Best For: Travelers, minimalists, students, and anyone who wants one perfect, clean cup in under 2 minutes.
- The Taste: Incredibly clean, bright, and grit-free (thanks to the paper filter). It can be strong like an espresso-concentrate or light and clean like a pour-over. It’s the most versatile brewer you can own.
- How to “Fix” It:
- The Problem: “It’s too hard to plunge!” or “It tastes sour.”
- My Fix: You’re grinding too fine. The AeroPress is very forgiving, but it doesn’t like an espresso grind. Go a bit coarser (like table salt), and let it steep for a full 2 minutes.
- Go Deeper: How to Use an AeroPress for Travel
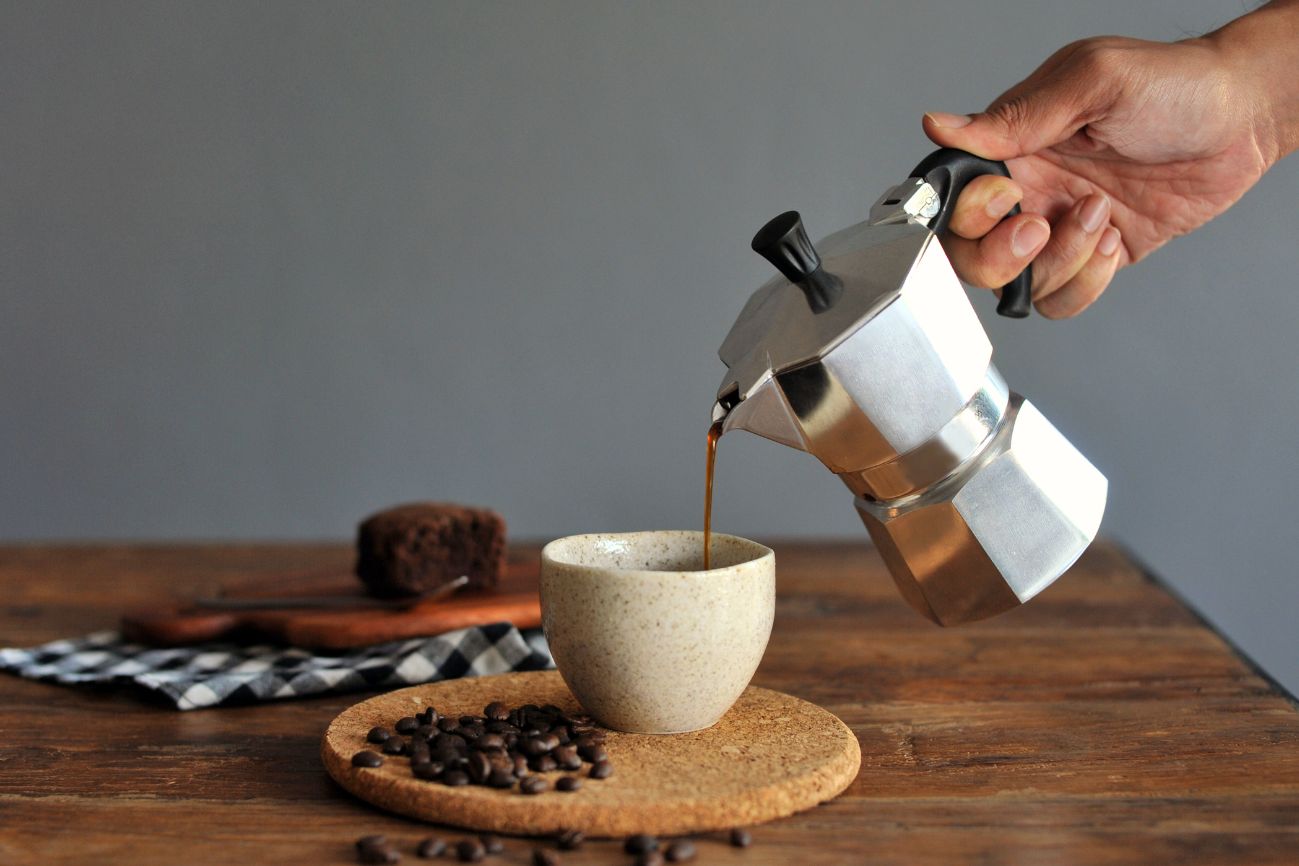
5. The Moka Pot (The “Stovetop Espresso”)
This is the classic Italian stovetop brewer. This is your “fix” for getting a strong, bold, espresso-like coffee without buying a $500 espresso machine.
- Best For: A strong, concentrated, and intense brew. It’s the heart of my “home-base” lattes when I’m not using my big Gaggia machine.
- The Taste: Intense, rich, and powerful.
- How to “Fix” It:
- The Problem: It tastes “burnt” or “bitterly metallic.”
- My Fix: This is the most common mistake.
- Fill the bottom chamber with hot, pre-boiled water, not cold water. This dramatically reduces the time the pot is on the stove, so you’re not “toasting” the coffee grounds.
- Remove it from the heat as soon as it starts to gurgle. Don’t let it “sputter” to death.
- Go Deeper: A Beginner’s Guide to Moka Pot Coffee: Bold Coffee Made Easy
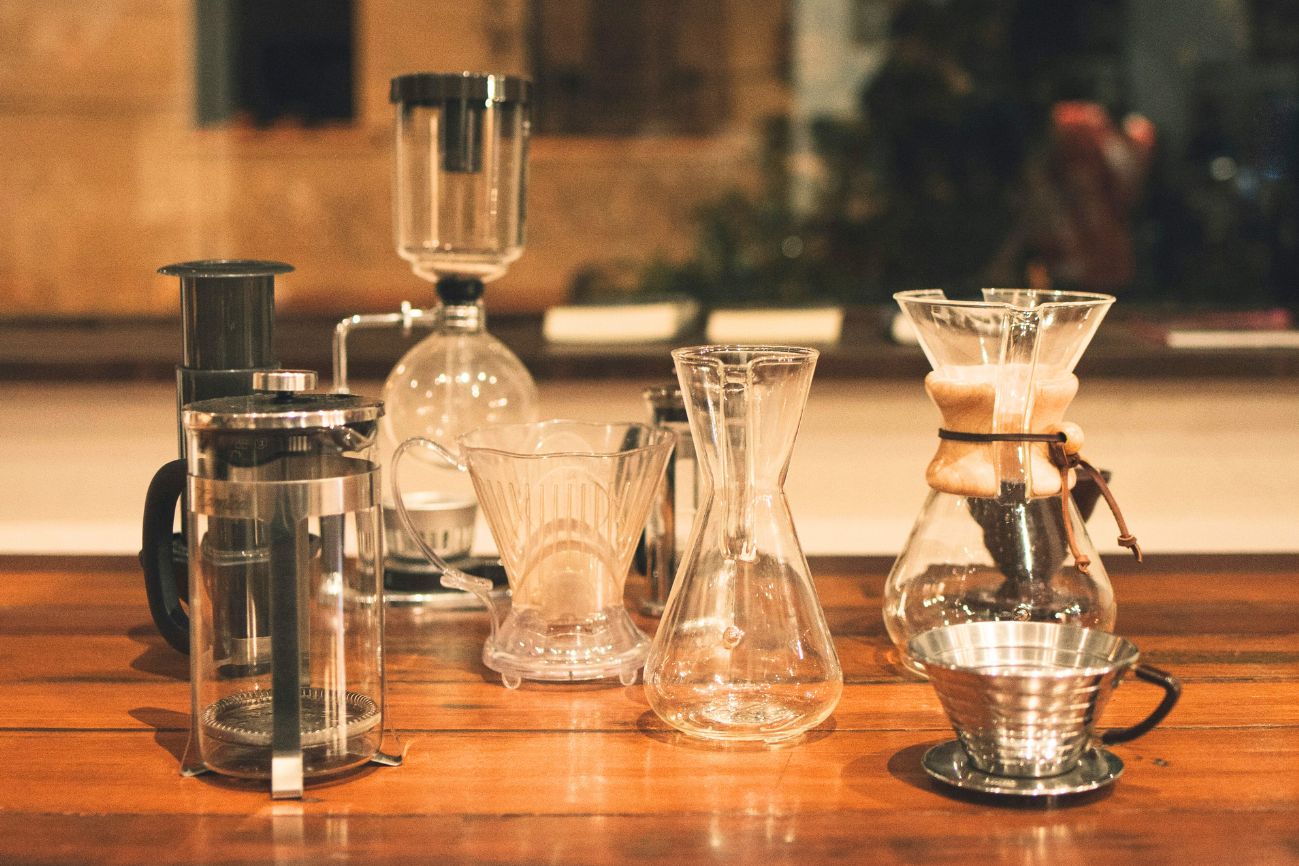
6. The Pour-Over (Your “Graduation” Brewer)
This is your “graduation” step. A pour-over (like a Hario V60 or Chemex) is your gateway into the true craft of coffee. It’s less of a “set it and forget it” method and more of a mindful, 3-minute ritual.
- Best For: The hobbyist, the tinkerer, and the person who wants to taste the delicate, fruity, or floral notes of a single-origin coffee.
- The Taste: Delicate, clean, bright, and nuanced. Often described as “tea-like.”
- How to “Fix” It:
- The Problem: It always tastes sour.
- My Fix: This is the classic pour-over problem. It means you’re under-extracting.
- Your grind is too coarse. (Go a few clicks finer).
- Your water is too cold. (Get it just off the boil, 205°F / 96°C).
- Your pour is too fast. (Pour slower, in gentle circles).
- Go Deeper:
Wait… Where Are the Pod Machines (Keurig & Nespresso)?
You might be looking for this list and thinking, “Ethan, you missed the easiest one! What about my Keurig?”
You’re right. They are the easiest.
But here’s my “no-snobbery” distinction: This guide is about “Brewing Methods,” which are open systems. You choose the beans, you choose the grind, you choose the ratio. My job is to teach you how to “fix” and master those variables.
A pod machine is a closed system. It’s a convenience appliance. The company dictates the grind, the dose, and the temperature. There’s nothing for you or me to “fix,” other than “buy a different pod.”
They’re fantastic for speed, but they aren’t brewing.
If you are looking for a pod machine, I’ve written a full guide on them. But for everyone else who wants to learn the craft of brewing, let’s get started.
What’s the Hardest Method to Master?
I’m a “fix-it” guy, and I love a challenge. But I have to be honest: the hardest, most expensive, and most frustrating method to master at home is true, high-pressure espresso.
People think they can just buy a $200 machine and get cafe-quality coffee. They are wrong.
It’s a “system” that requires an espresso-capable grinder (often $300+), a deep understanding of “puck prep” (tamping, leveling), and a willingness to “dial in” your grind every single morning. It’s a technical, scientific hobby that will have you dumping sour shots down the drain for a month.
It’s a fun mountain to climb (I love my “home base” Gaggia machine), but you can get 99% of the way to a “perfect” cup with the easy, forgiving methods listed above.
- Go Deeper (My Espresso Posts):
My Final Advice: Which Brewer Should You Buy?
Here is my “no-snobbery” final answer.
Phase 1: START HERE (No Money)
If you already have an Automatic Drip Machine, do not buy anything. Spend $50 on a burr grinder and a bag of fresh, whole beans. Follow my “Fix-It” guide for auto-drip. I promise you, the results will blow your mind.
Phase 2: Your First “Real” Brewer (Under $50)
If you’re ready to buy your first new brewer:
- Get a French Press if you want a bold, full-bodied, classic cup.
- Get an AeroPress if you want a clean, fast, versatile, and travel-ready cup. (This is my personal pick).
- Get a Moka Pot if you you want a strong, espresso-like kick for lattes.
The most important thing is to start. Pick one, get a good grinder, and stop letting overwhelm keep you from the daily brew you can enjoy.
Frequently Asked Questions (Your Quick Fixes)
Q: What’s the healthiest way to brew coffee?
A: Any method with a paper filter (like auto-drip, AeroPress, or pour-over) is a great choice. The paper traps oils called “cafestol” ( which can (in very high amounts) raise bad cholesterol. A French Press or Moka Pot (metal filters) will have more of these oils.
Q: How much coffee should I use?
A: This is the “Golden Ratio,” and it’s your most important fix! A great starting point for all these methods is 1 part coffee to 16 parts water. (e.g., 20 grams of coffee to 320 grams of water). Use a scale!
Q: What’s the most eco-friendly coffee maker?
A: The French Press, Moka Pot, or a Pour-Over with a reusable metal filter. These methods create zero paper waste.