There’s a moment most people hit after a few months of grinding coffee at home.
The grinder still works. The beans are the same. Your brew method hasn’t changed. But the coffee starts to taste a little dull. Sometimes faintly bitter. Sometimes just tired.
More often than not, it’s not the beans. It’s the grinder.
Coffee grinders don’t just grind beans. Over time, they collect coffee oils, fine dust, and old residue that quietly affects flavor and consistency. The good news is that coffee grinder cleaning isn’t complicated, expensive, or something you need to do obsessively. It just needs to be done calmly and regularly.
This guide is about keeping your grinder clean in a realistic, low-stress way. No over-maintenance. No rituals that take half an hour. Just enough care to keep flavors clear and your grinder working the way it should.
Why Coffee Grinder Cleaning Matters
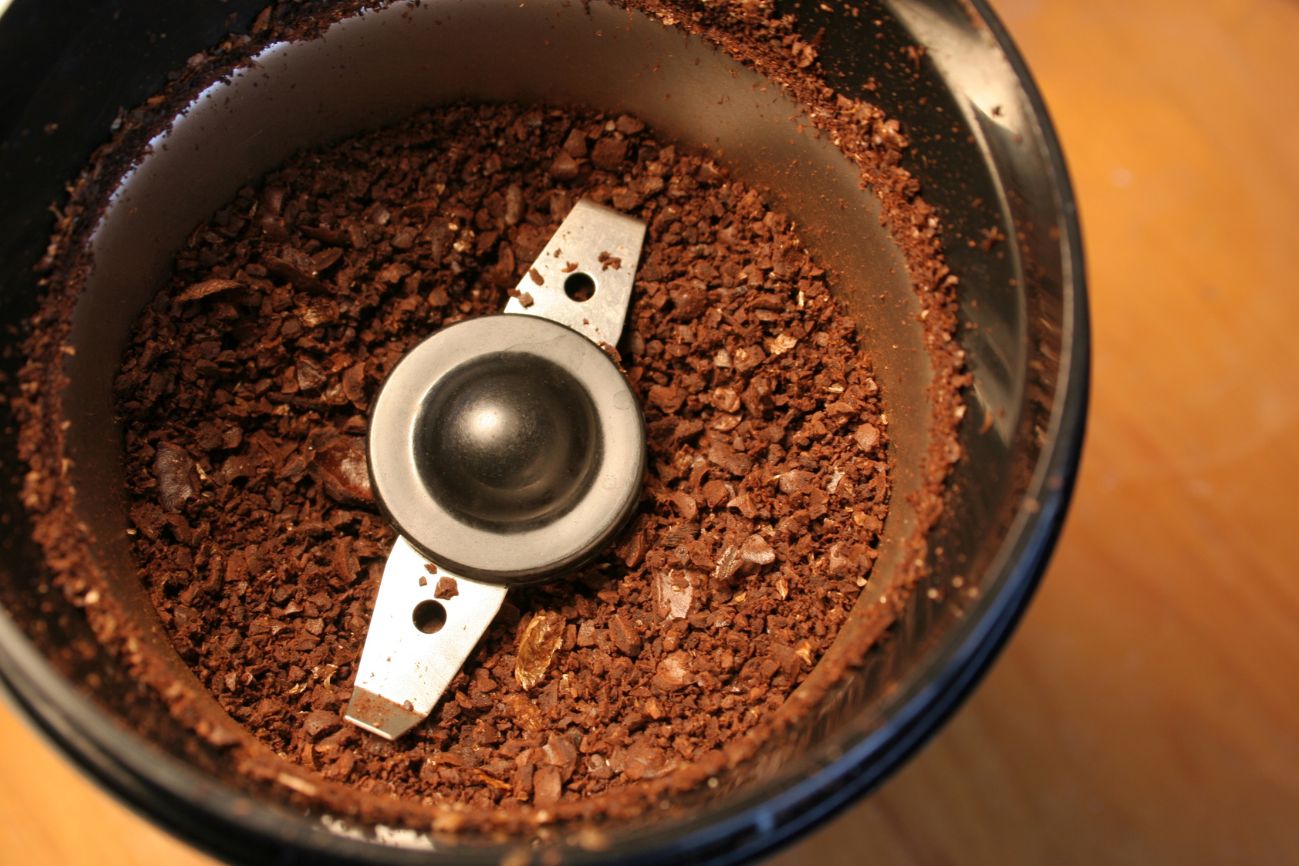
Old coffee residue doesn’t just sit there harmlessly.
Coffee oils oxidize. Fine particles cling to burrs and internal surfaces. Over time, this buildup does three things:
- It dulls flavor, especially in lighter roasts
- It makes grind size less consistent
- It can introduce bitterness even when your recipe hasn’t changed
In cafes, grinders are cleaned because consistency is non-negotiable. At home, the stakes are lower, but the principle is the same. A clean grinder gives you predictable results. And predictable results are what let you make small adjustments with confidence.
I’ve brewed excellent coffee with modest grinders simply because they were clean and well cared for.
How Often Should You do a Coffee Grinder Cleaning?
This is where most advice becomes unrealistic. You’ll hear “clean it weekly” or “deep clean every few days.” For most home brewers, that’s not sustainable.
Here’s a more practical rhythm that works in real kitchens.
Light cleaning (every 1–2 weeks)
This keeps loose grounds and surface oils under control.
- Brush out visible grounds
- Wipe the outside and hopper
- Check the exit chute if accessible
Deeper cleaning (every 1–3 months)
This depends on how often you brew and what kind of beans you use.
- Remove burrs if possible
- Clean burr surfaces and internal chambers
- Remove built-up oils and fines
If you brew once or twice a day, every couple of months is usually enough. If you brew occasionally, you can stretch that further.
Dark roasts tend to leave more oil behind. If you mostly brew light or medium roasts, buildup happens more slowly.

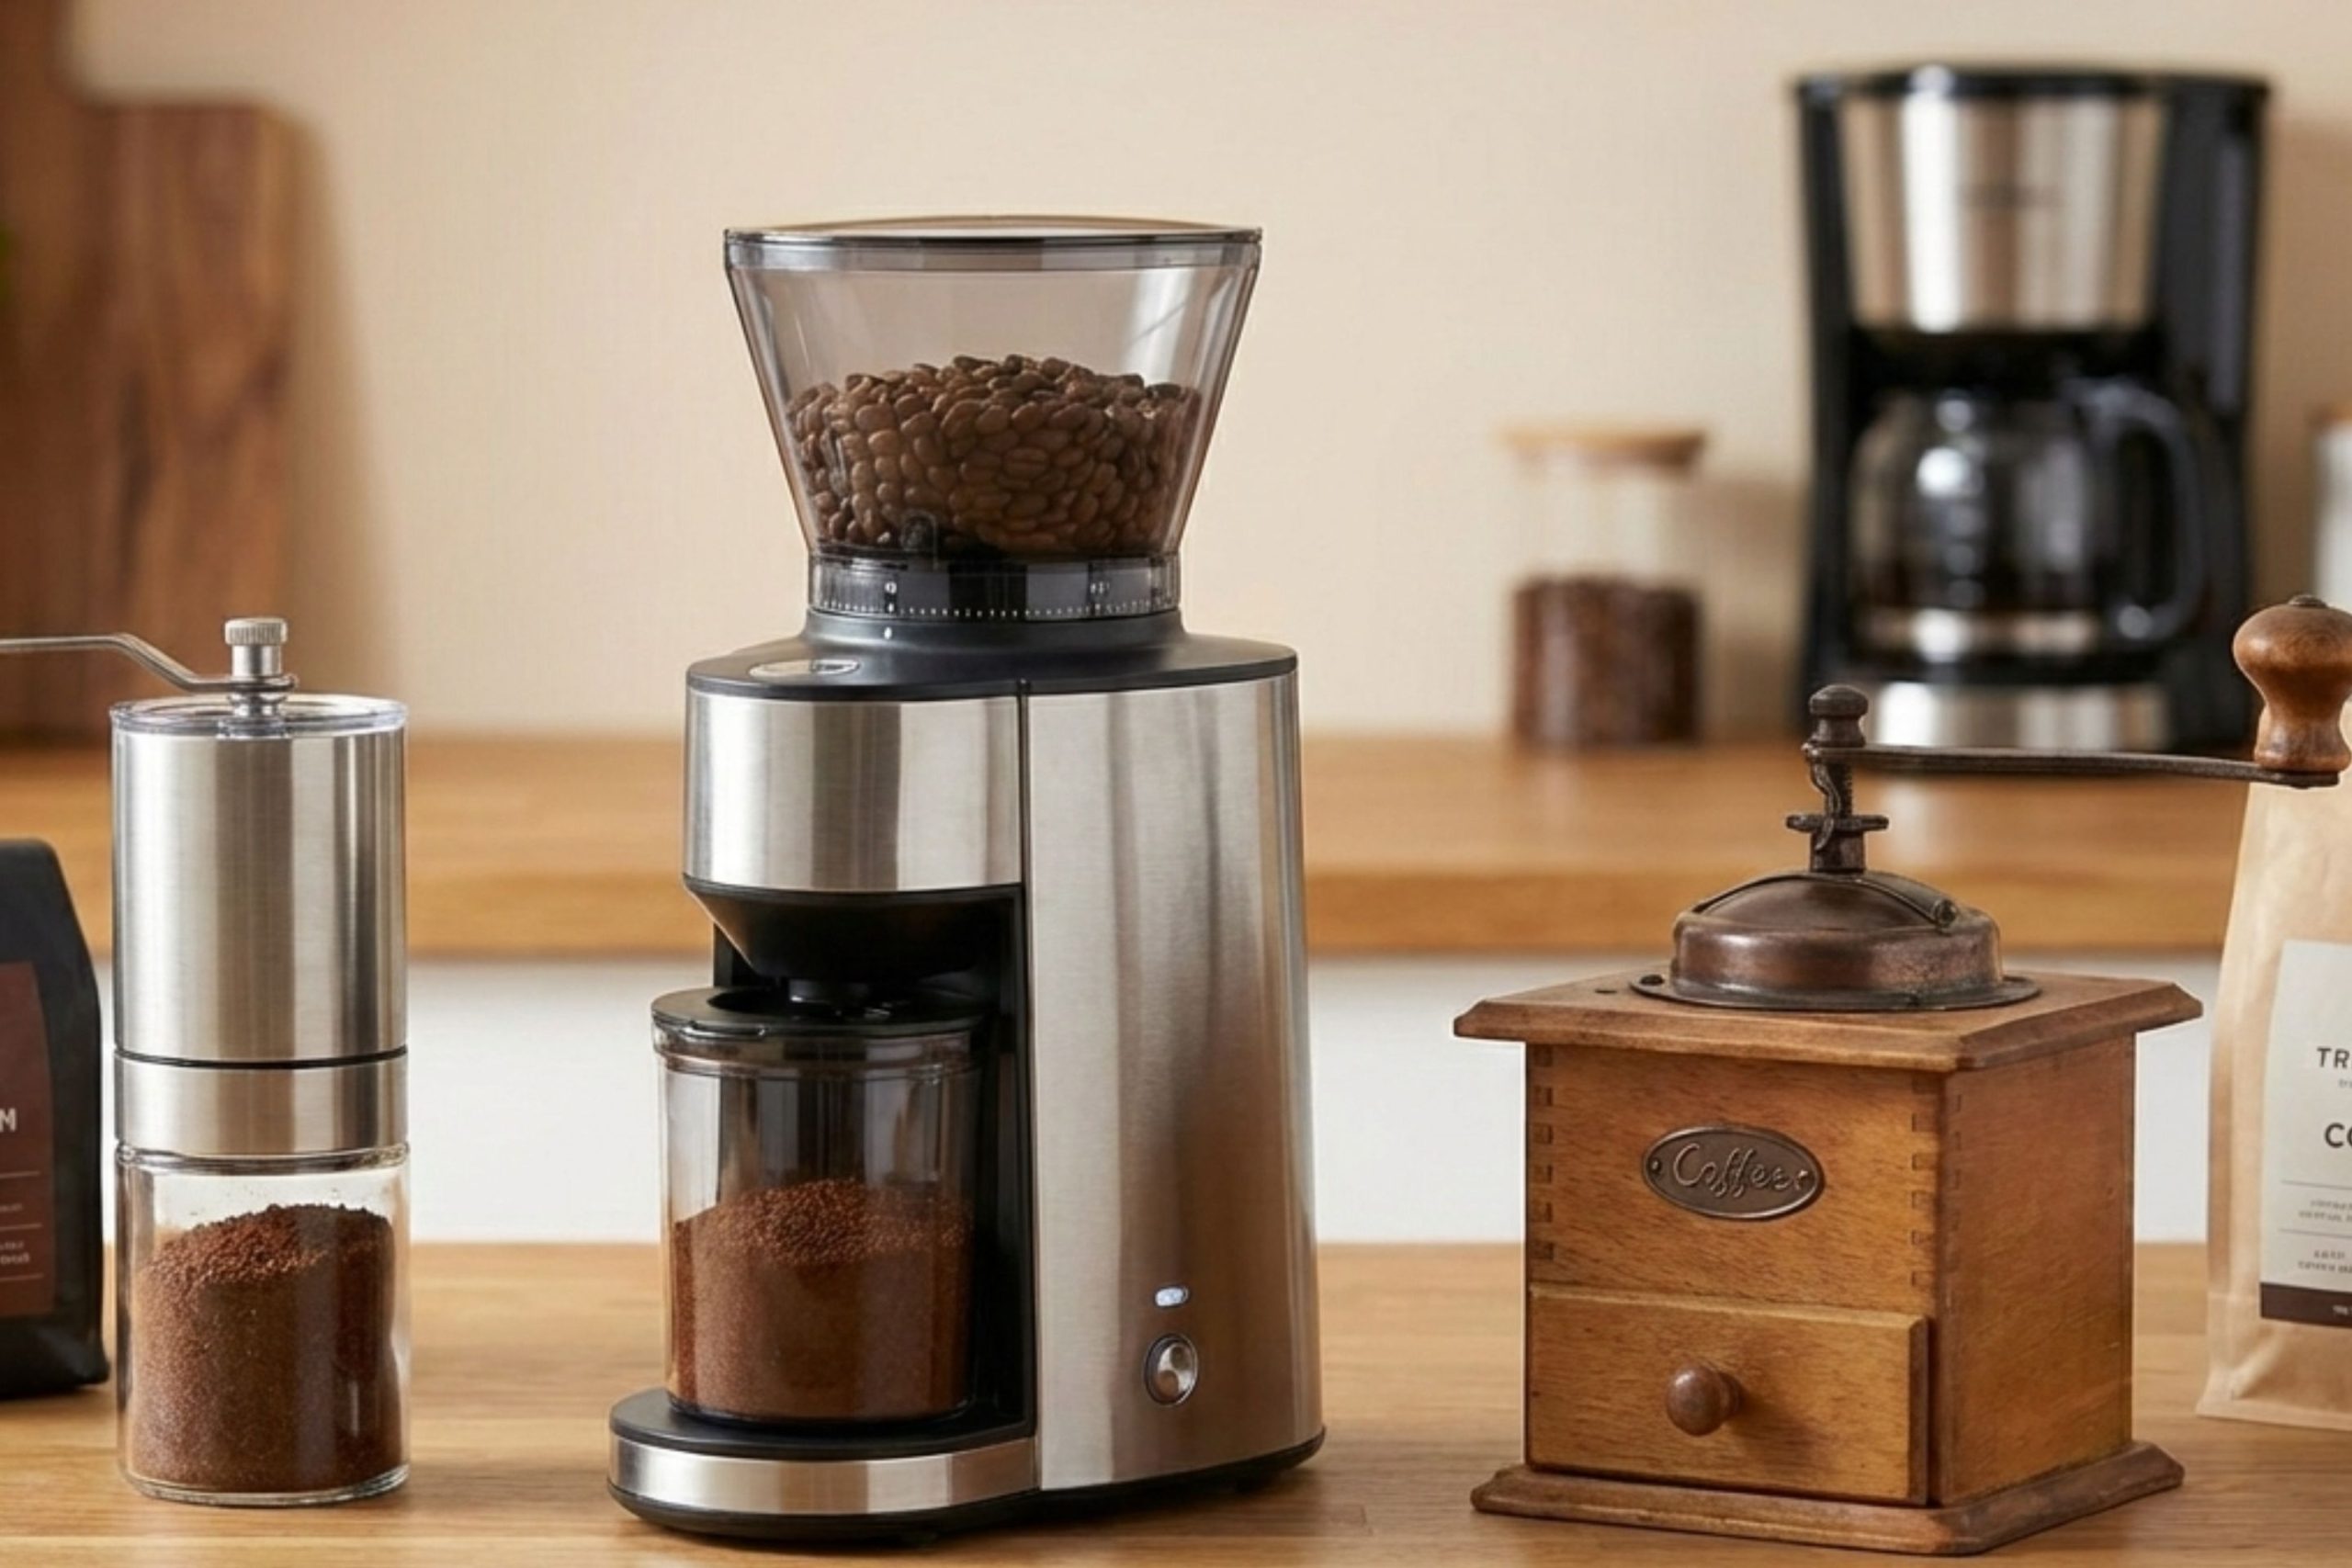
Manual vs Electric Grinders: What Changes in Cleaning?
Manual grinders are simpler. Fewer parts. Less static. Easier access to burrs.
Electric grinders add convenience but introduce a few extra variables: motors, chutes, retention areas, and sometimes static-prone plastics.
The fundamentals are the same for both. You’re removing old grounds, oils, and buildup without damaging the burrs or knocking alignment out of place.
How to Clean a Manual Coffee Grinder (Step by Step)
Manual grinders are forgiving, which makes them a great place to build good habits.
What You’ll Need
- A soft brush (toothbrush or grinder brush)
- A dry cloth or paper towel
- Optional: wooden skewer or dry cotton swab
Water is usually unnecessary and often discouraged.
Step 1: Empty the Grinder Completely
Remove any beans. Grind out what’s left so you’re starting dry and empty.
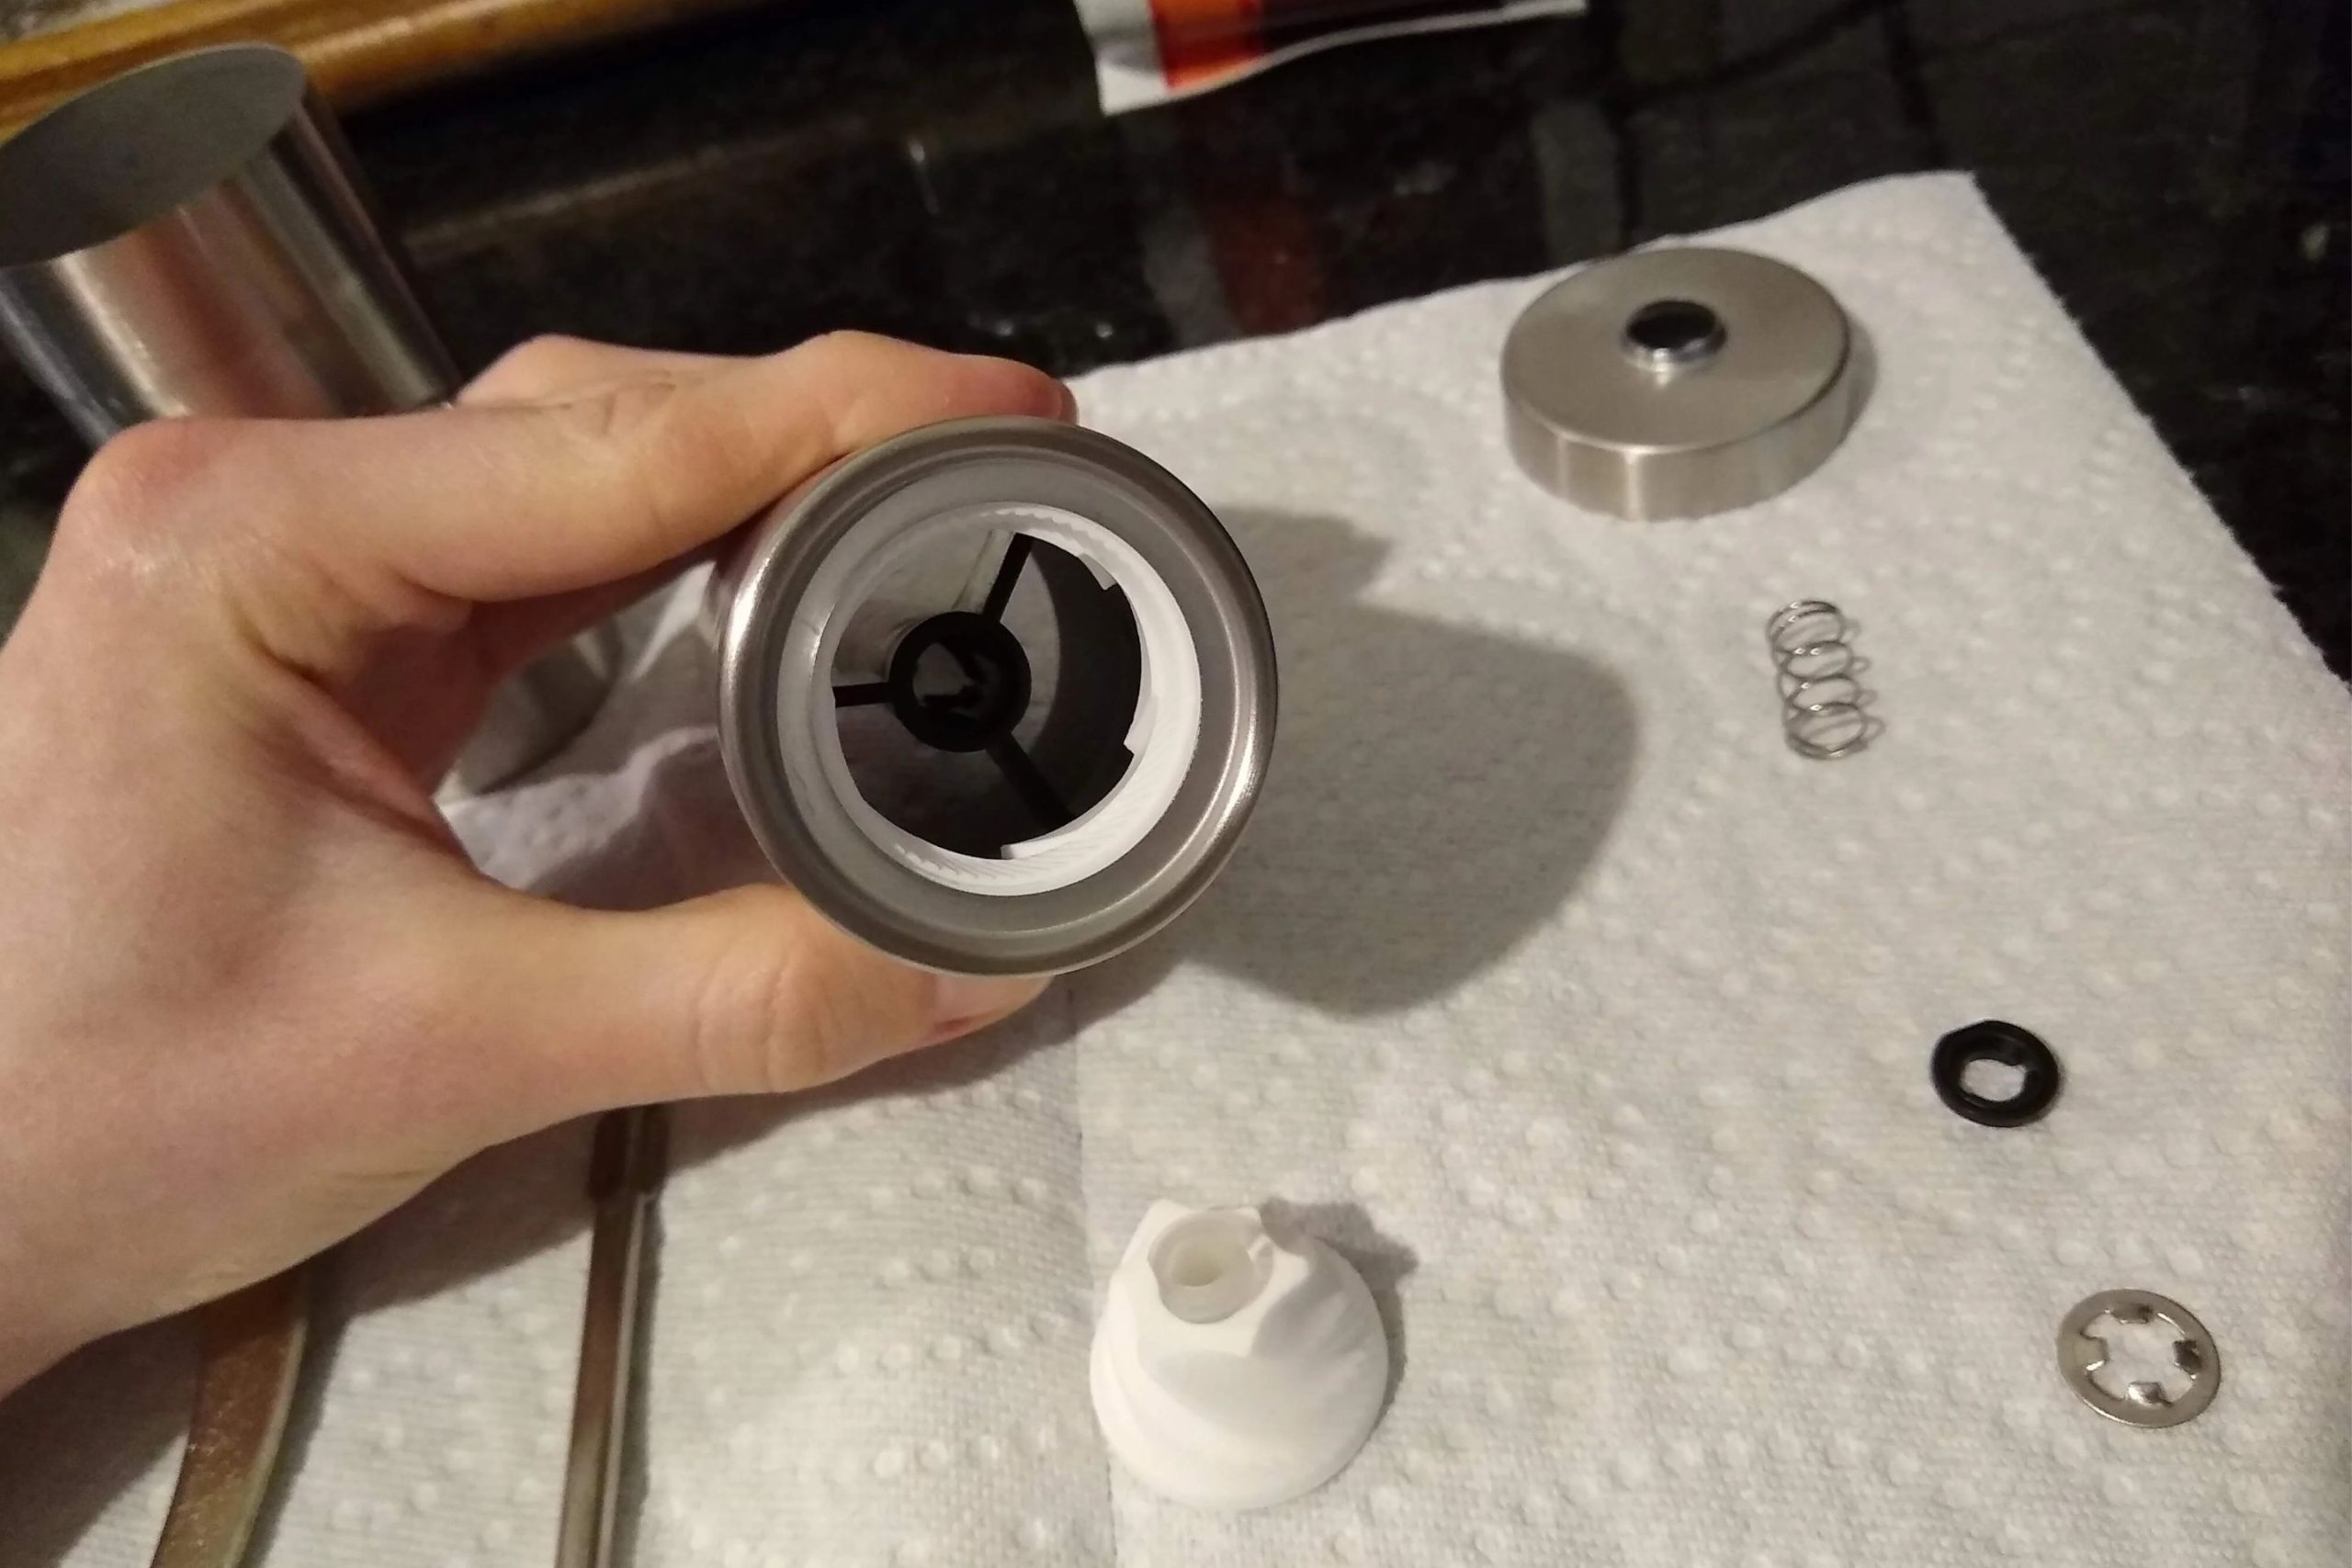
Step 2: Disassemble Carefully
Most manual grinders come apart easily: handle, lid, burr assembly, catch cup. Lay parts out in order. If it’s your first time, take a quick photo so reassembly feels relaxed.
Step 3: Brush Away Residue
Gently brush burrs, threads, and internal walls. Pay attention to the edges of the burrs where fines like to hide.
Avoid metal tools. Burrs are precise surfaces. They don’t need force.
Step 4: Wipe, Don’t Wash (Usually)
Unless the manufacturer explicitly allows water, keep everything dry. Moisture introduces corrosion risk and can cause grounds to clump later.
Step 5: Reassemble and Grind a Small Test Dose
Grind a few grams of coffee and discard it. This clears any loosened dust and resets the burrs.
That’s it. Ten minutes, start to finish.
How to Clean an Electric Burr Grinder Safely
Electric grinders need a bit more respect, mainly because of internal components and tighter tolerances.
What You’ll Need
- Grinder brush
- Dry cloth
- Optional: grinder cleaning pellets (used sparingly)
Step 1: Unplug the Grinder
Always. Even if you’re “just brushing.”
Step 2: Remove the Hopper and Upper Burr
Most home grinders are designed for this. If yours isn’t, stop here and stick to brushing accessible areas only.
Step 3: Brush Burrs and Grinding Chamber
Remove visible grounds. Focus on corners, burr teeth, and the chute opening.
Avoid compressed air. It pushes grounds deeper into the grinder rather than removing them.
Step 4: Address the Chute and Retention Areas
This is where old grounds hide. A wooden skewer or dry cotton swab works well.
Step 5: Reassemble and Run a Small Dose
Again, grind a little coffee and discard it. This stabilizes grind size and clears loosened particles.
Should You Use Grinder Cleaning Pellets?
Cleaning pellets can be helpful, but they’re not essential.
They work best when:
- You haven’t cleaned your grinder in a long time
- You use oily beans regularly
- Disassembly is difficult or limited
They are not a replacement for brushing. Think of them as an occasional assist, not a routine dependency.
If you clean manually every month or two, you likely don’t need pellets at all.
What Not to Do When Cleaning a Grinder
Some mistakes cause more harm than neglect.
- Don’t wash burrs unless explicitly allowed
- Don’t use soap or solvents
- Don’t scrape burrs with metal tools
- Don’t adjust grind settings during disassembly unless required
Grinders are mechanical tools. Gentle, repeatable care beats aggressive cleaning every time.

Signs Your Grinder Needs Cleaning (Even If It “Seems Fine”)
Sometimes flavor tells the story before mechanics do.
Watch for:
- Coffee tasting flat or bitter without recipe changes
- Increased fines or inconsistent grind size
- Static getting worse over time
- Grinder sounding different under load
If something feels off, a cleaning session is usually the first, simplest fix.
Long-Term Grinder Maintenance (Beyond Cleaning)
Cleaning keeps things fresh. Maintenance keeps things accurate.
A few habits that extend grinder life:
- Don’t leave beans in the hopper for weeks
- Avoid grinding flavored or artificially coated beans
- Store the grinder in a dry environment
- Adjust grind size gradually, not forcefully
Most home grinders don’t need frequent burr replacement. But cleanliness delays wear and preserves alignment far longer than people expect.
Do You Need to Clean Your Grinder If You’re a Beginner?
Yes, but not obsessively.
If you’re new to home brewing, a simple monthly clean is enough. Focus on learning grind size, ratios, and taste adjustments first. Cleaning supports that learning. It shouldn’t distract from it.
If coffee tastes good and consistent, you’re doing enough.
A Simple Habit That Protects Everything Else
Grinder cleaning doesn’t improve coffee by adding anything. It improves coffee by removing what shouldn’t be there.
That’s why it matters.
It’s quiet work. Unseen. Easy to skip. But once you’ve tasted coffee from a clean grinder, it’s hard to ignore the difference.
And the best part is this: once you build the habit, it stops feeling like maintenance and starts feeling like care.
If you’re looking to understand how grind size interacts with brewing methods, or when it actually makes sense to upgrade instead of cleaning, you’ll find those guides linked throughout the site. This page exists to keep your current setup working the way it should without drama, hype, or unnecessary upgrades.