Imagine traveling and enjoying the scenery without your favorite cup of coffee. How does it feel for you as a coffee lover?
Who wouldn’t want to enjoy their favorite beverage during a lovely moment?
When traveling, carrying heavy coffee machines and other equipment can be challenging.
We have a solution here to help you with your issue.
We’ll talk about making coffee on roads and mountains without requiring bulky coffee machines or other extra equipment.
Note: You will still need some basic equipment, such as a kettle for boiling water, a mug, a spoon, and a heating tool, even though we will be discussing several hiking coffee ways without any equipment.
I think when we travel, these things are necessary, and everyone already has them. Because when you go camping or hiking, you make some arrangements for food and drinks. So, you will need these things to make coffee, and I’m sure everyone must have them.
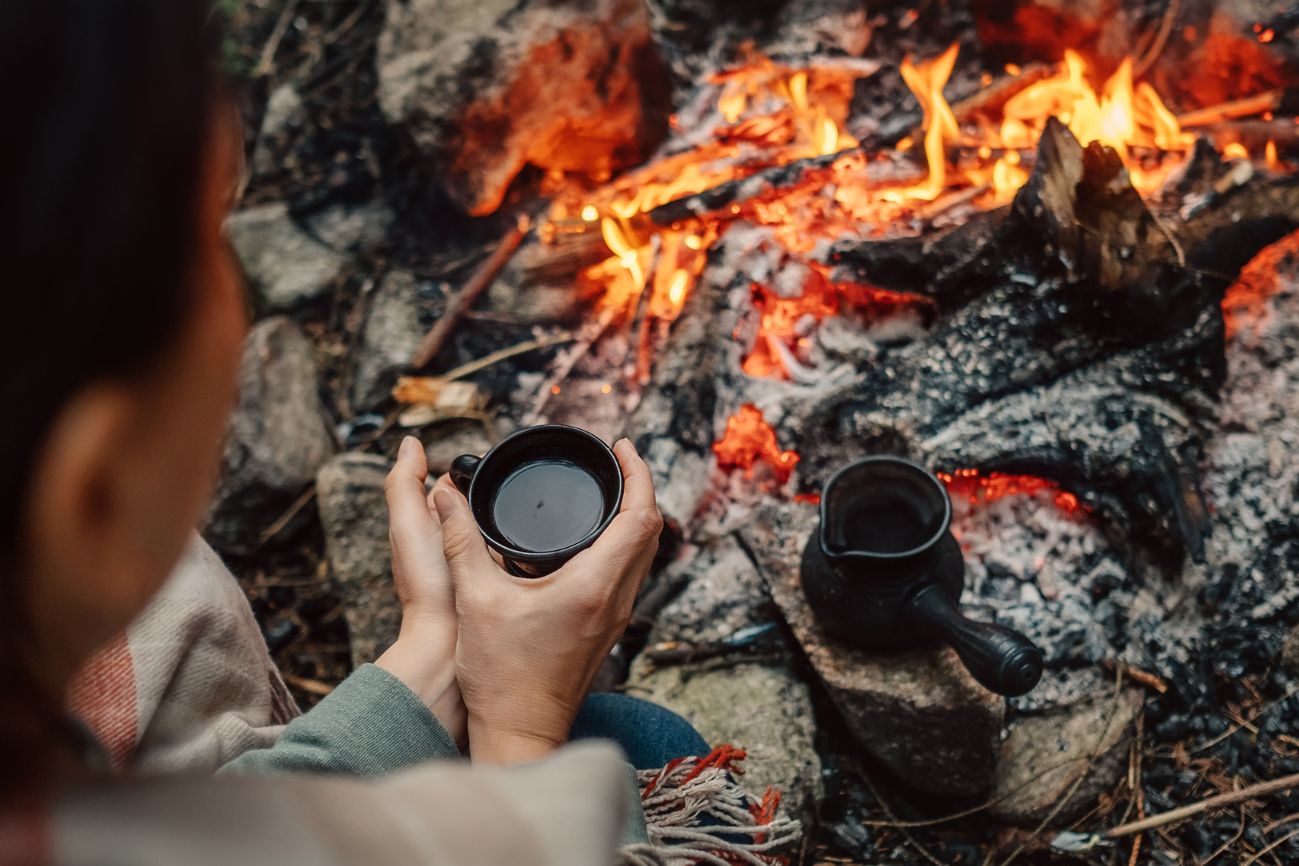
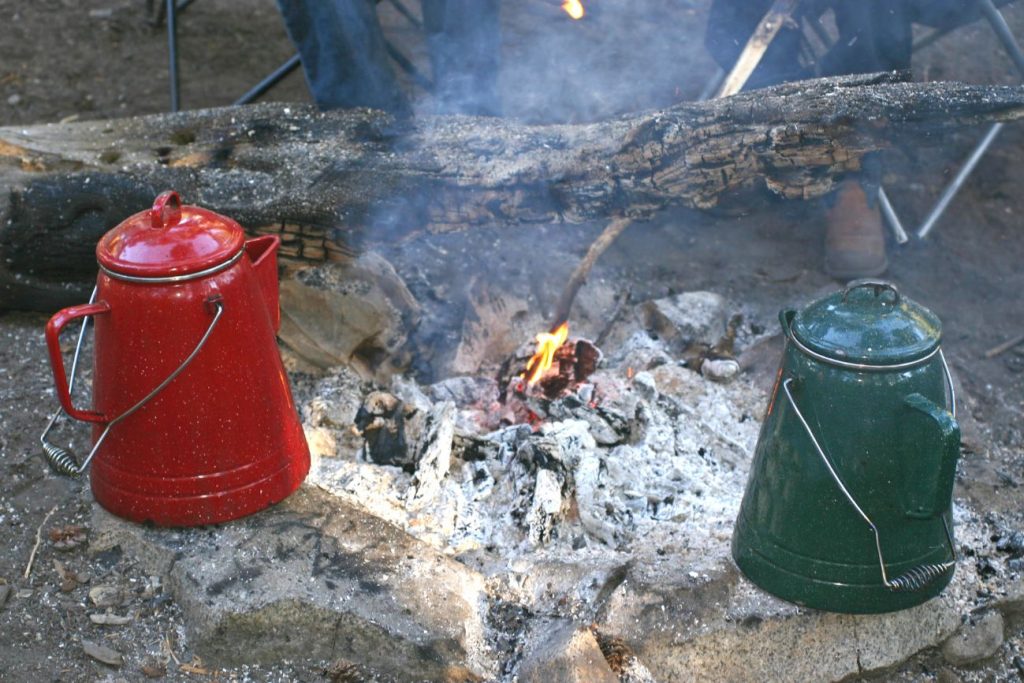
1. Cowboy Coffee : The Classic Trail Brew
Cowboy coffee is the best method for making a quick cup of coffee without the need for special coffee equipment or heavy coffee machines. All you need is a kettle to boil water, a campfire, and a mug to pour coffee. Simple, rustic, and effective. This method is perfect for those who love their coffee strong and bold.
What You Need
- Coarse ground coffee
- Water
- Kettle to boil water
- A fire or heat source
- A mug or cup
Brewing Method
- Take a kettle and boil water to a boiling point.
- After boiling, remove it from the fire and let it sit for a few seconds.
- Now add your freshly ground coffee to this water and stir to mix well.
- Let it sit for 3 to 4 minutes and wait.
- Pour your coffee into a mug once the coffee grounds settle down.
- You can also use a paper filter to strain the coffee grounds.
- Now enjoy!
Why You’ll Love It
✔ No extra equipment needed—just your kettle and coffee.
✔ Strong and rich flavor.
✔ Feels like a true backcountry experience.
Things to Keep in Mind
This coffee method is no doubt the best and easiest way to make coffee while traveling, but you can have some problems with it, like:
- Compared to other methods, it doesn’t taste good. However, as everyone has different preferences, you might like it.
- Coffee grounds can end up in your coffee mug even after straining coffee, which can be disgusting.
- Packing out used coffee grounds can be a bit difficult and messy.
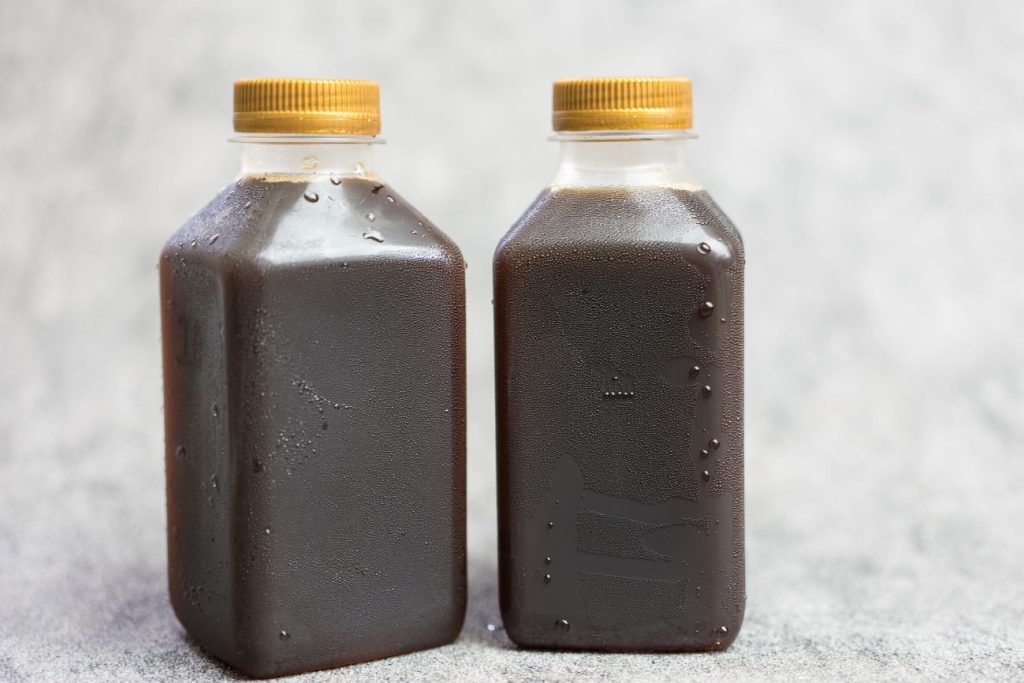
2. Cold Brew Coffee: Refreshing and Easy
Cold brew is also a great option if you don’t have access to a fire or stove. It requires no heat, and you can prepare it overnight. This method is no doubt perfect for long hikes where resources are limited. You will just need coffee, water, and a bottle to make cold-brew hiking coffee.
What You Need
- Coarse ground coffee
- Cold water
- A container (bottle, jar, or any sealable vessel)
Brewing Method
- Add 1/4 cup of coffee grounds per 1 cup of cold water into your container.
- Seal the container and let it steep for 12–24 hours. The longer it brews, the stronger it will be.
- If you have a cloth, cheesecloth, or even a fine mesh, strain the coffee to remove excess grounds. If you don’t have a way to strain, use coarse grounds that settle at the bottom, and pour carefully.
- You can drink it as a concentrate or dilute it with more water or milk to taste.
Why You’ll Love It
✔ No heating required—great for summer hikes.
✔ Super smooth and refreshing.
✔ Make it ahead of time and store it in your pack.
Things to Keep in Mind
The cold brew method is also the best choice when it comes to enjoying a cup of cold brew coffee while hiking or camping. This coffee has a nice flavor and is simple to prepare. However;
- Requires some planning (steep overnight for best flavor)
- You might get some coffee grounds in your drink if not filtered.
3. Coffee Tea Bags: The Instant Trail Solution
No doubt this is the best instant coffee for backpacking. This coffee has a nice flavor and is the easiest to make. Using tea bags to make coffee is another great and easy method. Some brands sell coffee in little tea bags. These coffee bags are very lightweight and portable.
However, you can also create it yourself if you cannot find coffee bags. Simply measure out the amount of your favorite coffee, put it in a paper filter, and tie a knot to keep the coffee grounds inside. Your coffee tea bag is now ready.
What You Need
- Ground coffee (medium-coarse grind works best)
- A coffee filter or a small, clean cloth
- String or thread
- Hot water
- Or a ready-made coffee tea bag (if you have one)
Brewing Method
- Boil water and pour it into your cup.
- Now add your DIY coffee bag or coffee tea bag to boiled water.
- Keep the bag in water for about 2 to 4 minutes according to your preferred flavor profile.
- Now sip and enjoy your instant coffee!
Why You’ll Love It:
✔ Super lightweight and compact—perfect for ultralight hikers.
✔ Minimal cleanup—used bags can go straight in the trash.
✔ Tastes better than instant coffee!
You don’t need to worry about used coffee! It can be easily placed in your trash bag because it will be packaged in a bag.
If you would like to purchase pre-made coffee tea bags, these are some brands that sell high-quality coffee in tea bags.
4. Instant Coffee: The Easiest Hiking Coffee
Instant coffee packets are the first thing that most people think of while they are backpacking. These are so popular because they are too small to fit in your backpack, and you can instantly get a cup of coffee.
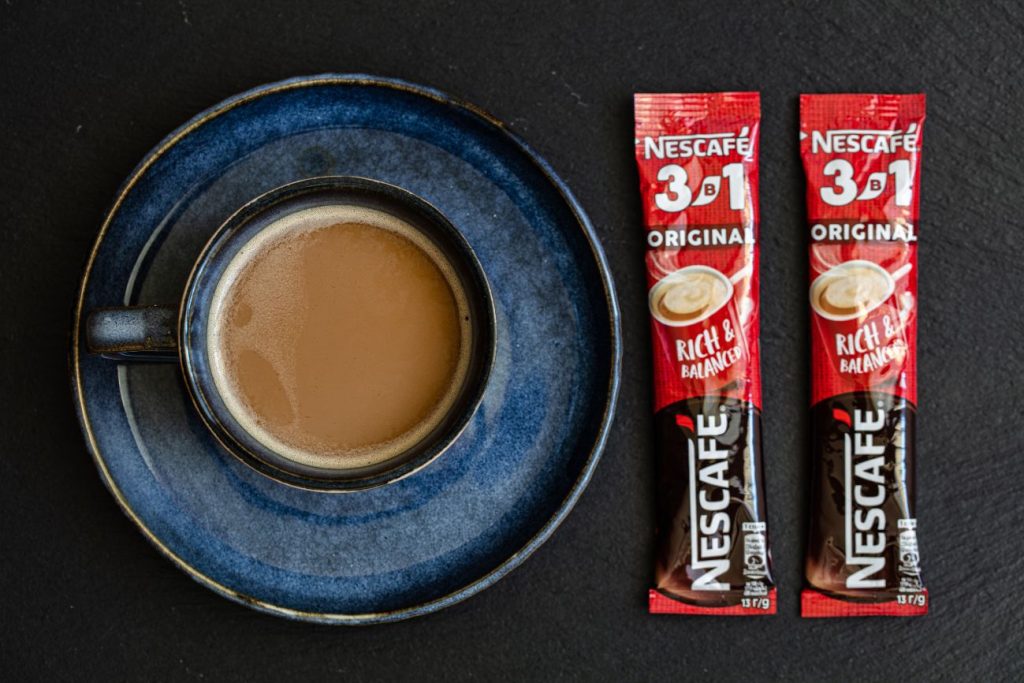
The instant coffees are the best and most lightweight choice for people who only need a quick caffeine hit with no effort. All you need to do is add instant coffee packs to a cup of hot water and stir thoroughly to mix everything. And your hiking coffee is ready in a moment. This can be enough for you if you only need a little energy boost.
What You Need
- Instant coffee powder
- Hot or cold water
- A cup or bottle
How to Brew
- Boil a cup of water.
- Add the instant coffee pack to the hot water and stir to mix everything well.
- Now enjoy your quickly made cup of coffee.
Why You’ll Love It
✔ Fastest and most effortless method.
✔ Ultra-lightweight and packable.
✔ Great for those who just want caffeine ASAP.
Best Instant Coffee for Hiking
These instant coffee packs are the best and most lightweight option for backpacking. You will undoubtedly wonder if the instant coffee pack is a waste of money or if it offers the best taste. Some options may taste bad, but here are some great options that taste too delicious to be true. You can choose from

Using Some Lightweight Coffee Gears
If you are planning your trip, you might like to consider some other methods. Here, we’ve included two lightweight equipment for hiking coffee that are small enough to fit in your bag if you’d like.
Pour Over Filters
You can also get pour-over coffee while camping if you crave it. Pour-over paper filters are available in the market, which are so lightweight and easy to carry. A paper box filter the size of a tea bag is used to hold the coffee grounds. You can also buy empty filters and fill them with your coffee. It appears to be a tiny bag with anchors when you open it.
Brewing Method
- Open the paper filter and place it on your cup using its anchors.
- Now put coffee grounds inside it.
- Boil water and pour it slowly over the coffee.
- Wait for a while until the water drains to your cup.
- Now enjoy!
Why We Recommend
When compared to other methods, this coffee has the best taste. Because it fits perfectly in your pack, this is the greatest coffee for traveling. You can easily carry the used coffee in your trash bag, too.
GSI Outdoors Pour Over Java Set

This stand is similar to pour-over paper filters and is an ultralight backpacking coffee maker. The difference is that the stand is reusable, while the pour-over paper filters are disposable.
You can carry this pour-over stand in your backpack and have a delicious cup of coffee anywhere you go because it is so portable and lightweight. It allows you to select your preferred coffee and adjust the water-pouring speed over coffee grounds.
So, let’s try to make a delicious cup of coffee using this pour-over stand.
Brewing Method
- Place the pour-over mesh filter on your cup and attach the plastic stands to the sides of the cup.
- Now put your favorite grounded coffee in a mesh filter.
- Boil water and pour it on the coffee grounds.
- Make sure that water is in contact with all the coffee grounds to extract well.
- Now wait until all the flavors drain in your cup.
- Now enjoy a freshly brewed cup.
Why We Recommend
No doubt, using this pour-over stand is the best and easiest way to make coffee while camping. Because you can adjust the water flow, this produces the best-tasting coffee. You can use the same mesh filter repeatedly because they do away with the need for paper filters.
Backpacking Coffee Maker Options
As you know, the focus of this post is coffee without coffee machines or other equipment. However, we have included some of the most portable, well-known, and lightweight coffee makers. Some people don’t like the coffee quality made without coffee makers so they can consider choosing the mentioned coffee makers as these are so lightweight to fit into your backpack while traveling. If you are packing your luggage then don’t forget to keep them in your backpacks.
The following are some of the best lightweight and portable coffee makers for hiking; you can choose from these options because they are very portable and travel-friendly. When purchasing a travel-friendly and hiking coffee maker, you should always look for one that is made of high-quality, lightweight materials.
Always look for one that is not too heavy so you can carry it easily and one that doesn’t break quickly if your backpack accidentally falls.
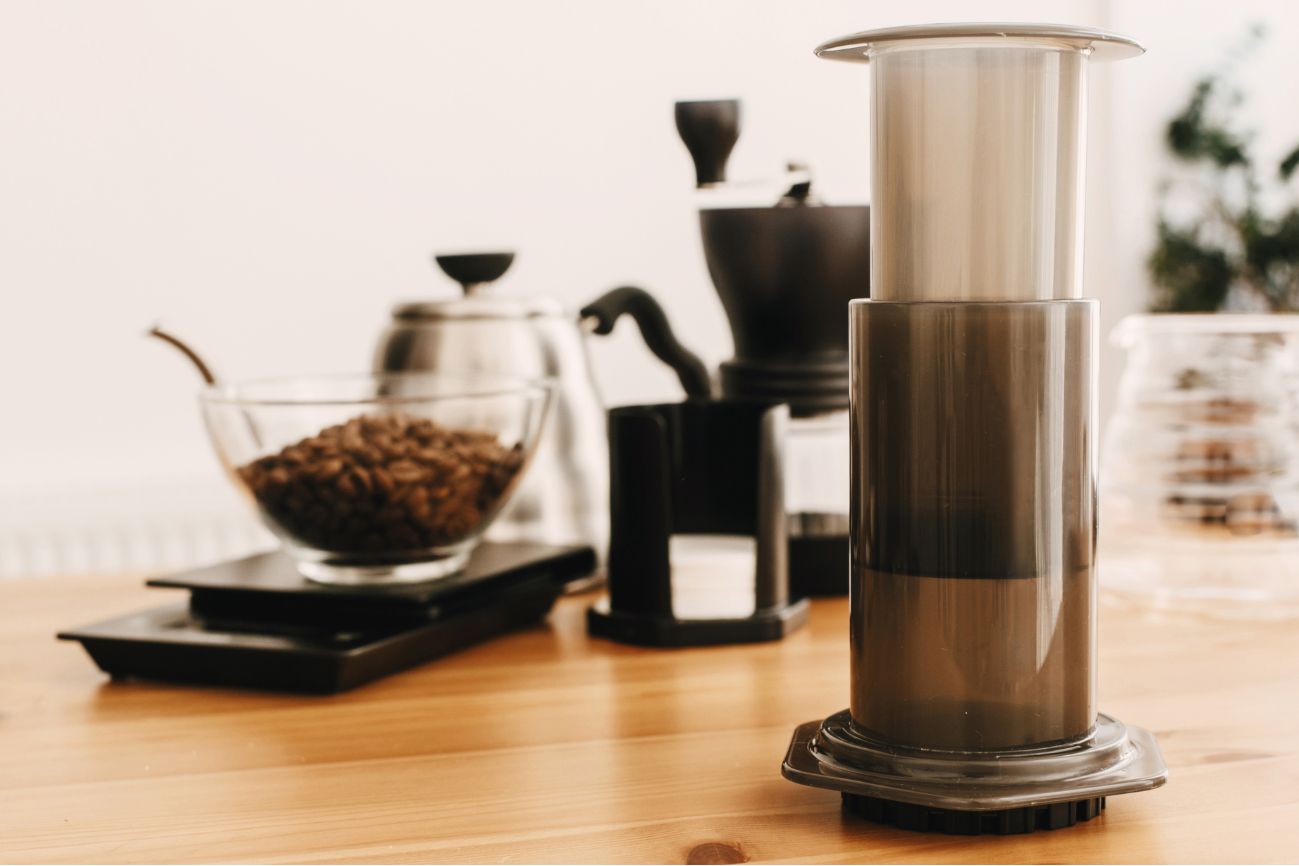
1. AeroPress Go Travel
When it comes to portable coffee makers, the first coffee maker that comes to mind is the AeroPress Go Travel. This is a lightweight French press coffee maker that is compact and made of plastic. This is incredibly portable, making it easy to take with you wherever you go. You may easily fit it in the side pocket where we usually keep our water bottles or in your bag.
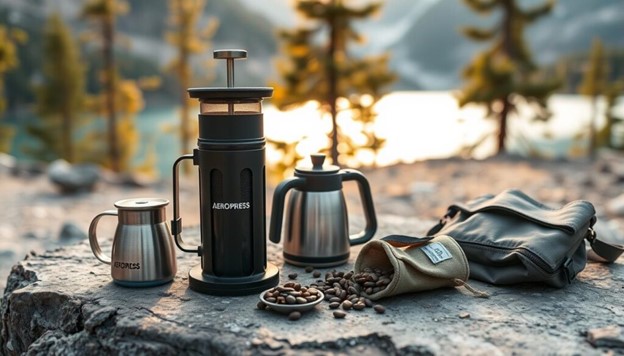
This coffee maker is undoubtedly the greatest for hiking and camping trips. Read our post on “How to Use an AeroPress for Travel” to learn how it works and how we can use it to make coffee.
2. Outin Nano Portable Electric Espresso

The Outin Nano Portable Electric Espresso is an espresso maker that is comparable to the AeroPress Go Travel. It is a portable and lightweight coffee maker.
It is composed of lightweight, high-quality plastic. So you can carry it anywhere and fit it conveniently into your backpack. While hiking and camping, you can still enjoy a freshly brewed cup of espresso.
3. WACACO NanoPresso

The WACACO Nanopresso coffee maker is compact and light. Because of its small size, it is easy to pack in your backpack and carry with you wherever you go.
Additionally, it is lightweight enough to fit in your backpack when hiking or camping because it is made of plastic. It is an espresso maker that is comparable to the Outin Nano.
Pro Tips for Hiking Coffee
- Pack a Lightweight Mug or Thermos: When traveling, always carry a thermos or a lightweight, insulated cup to keep your coffee warm for longer.
- Use a Portable Stove or Fire Source: You will always need hot water to prepare coffee, so always carry a portable electric kettle or a fire source to boil water.
- Bring a Reusable Spoon and Filters: You’ll also need a spoon to properly blend coffee, so keep a reusable spoon in your backpack.
- Dispose of Grounds Properly: Follow Leave No Trace principles.
Bottom Line
You don’t have to sacrifice your coffee when traveling. You can have a nice cup of coffee anywhere with these 5 simple brewing methods. Every traveler can find a way that suits them, whether they want a French press for a more nuanced experience or instant coffee for convenience. We’ve also included a list of the top portable coffee makers that are ideal for hiking and camping. So remember to pack your preferred coffee setup and enjoy the ride the next time you hit the road or trail!