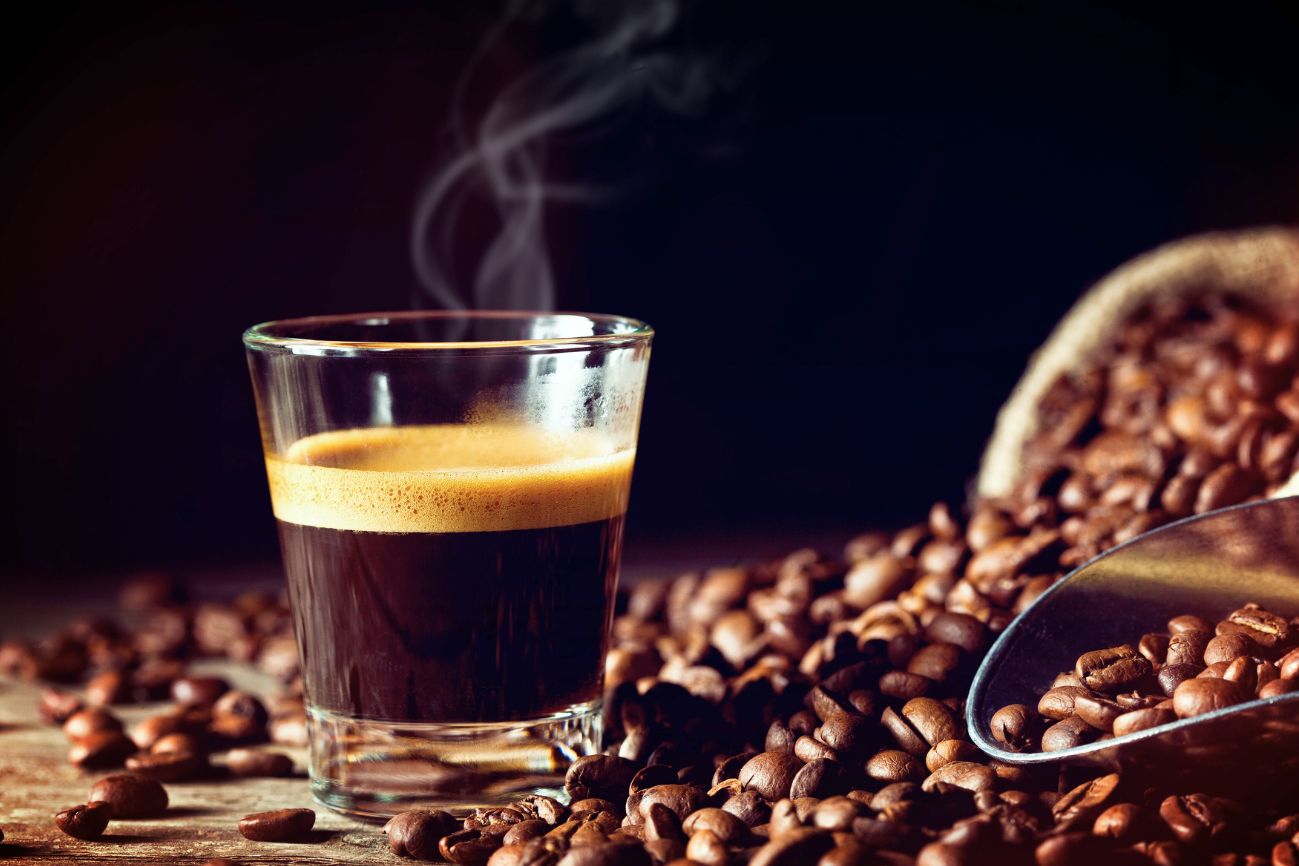
If your homemade coffee never quite tastes like the one from your favorite café, it’s probably you are making coffee brewing mistakes. Small mistakes can mess up your brew, even if you’re using great beans and a solid coffee maker.
Often, the culprit isn’t the quality of your beans, but rather the subtle yet significant mistakes we unknowingly make during the brewing process. If you’re a home barista beginner, understanding and avoiding these common pitfalls can elevate your daily coffee experience from mundane to magnificent.
This guide dives into the most frequent coffee brewing errors, breaking down why they impact your brew and, providing actionable steps so you can say goodbye to bitter disappointments and weak excuses for coffee! It’s time to unlock the perfect brew in your own kitchen.
Common Coffee Brewing Mistakes 1 – The Foundation of Flavor
Skimping on Bean Quality
Think of your coffee beans as the raw ingredients for a culinary masterpiece. Just as you wouldn’t use stale vegetables for a gourmet meal, settling for low-quality or old beans will invariably lead to a lackluster brew.
- The Mistake: Purchasing a big bag of pre-ground coffee or beans and letting them sit in your cabinet or shelf for weeks or months while using them .
- Why it Matters: Coffee is a perishable product. Beans start losing flavor within days of roasting. Whole beans retain their volatile aromatic compounds, which are responsible for coffee’s complex flavors and enticing aroma. Once ground, these compounds begin to degrade rapidly, leading to a stale and often bitter taste. Similarly, older beans lose their vibrancy and can develop off-flavors.
- How to Fix: Buy whole beans in small batches. Always opt for whole bean coffee and grind it fresh just before brewing. Look for roast dates and aim to use your beans within a few weeks of roasting for optimal flavor (Ideally within two to three weeks of roasting). Store them in an airtight container in a cool, dark place but not in the fridge or freezer (they add moisture and odors) for daily use.
Freezing vs. Other Methods
The following table provides a comparison of different coffee bean storage methods based on key factors relevant to maintaining freshness and practicality:
| Feature | Freezing (Properly Done) | Airtight Container (Room Temp) | Original Packaging (Opened) | Vacuum Sealing (Room Temp) |
|---|---|---|---|---|
| Flavor Preservation | Good (if sealed and thawed correctly) | Moderate to Good | Poor to Moderate | Excellent |
| Aroma Preservation | Good (if sealed and thawed correctly) | Moderate to Good | Poor to Moderate | Excellent |
| Protection from Oxygen | Excellent (if vacuum-sealed) | Good | Poor to Moderate | Excellent |
| Protection from Moisture | Good (if sealed; avoid condensation) | Good | Poor to Moderate | Good |
| Convenience | Less convenient (requires thawing) | Convenient | Convenient (short-term) | Convenient |
| Potential Drawbacks | Moisture damage, flavor absorption, cell damage | Gradual oxidation over time | Rapid staling after opening | Requires vacuum sealer |
| Best For | Long-term storage, bulk purchases | Everyday storage (1-4 weeks) | Immediate consumption (within a week) | Maximizing freshness for longer periods |
If you want to freeze beans…
If you find it necessary to freeze coffee beans, perhaps due to buying in bulk or for very long-term storage, it is crucial to only freeze freshly roasted whole beans. Divide the beans into single-serving portions and vacuum seal them in airtight bags or containers. Freeze them as quickly as possible. When you are ready to brew, allow the sealed portion to thaw completely at room temperature before opening the container and grinding the beans. It is important to avoid refreezing any beans that have already been thawed.

Common Coffee Brewing Mistakes 2 – The Key to Extraction
Using the Wrong Grind Size
The grind size of your coffee is arguably one of the most critical factors influencing the extraction process and how water interacts with the coffee grounds to release their flavors. Different brewing methods require specific grind sizes for the best results.
- The Mistake: Using one grind setting for all brewing methods or relying on pre-ground coffee that isn’t suited for your brewing method.
- Why it Matters: Grind size affects extraction.
- Too Fine: Over-extraction occurs, leading to a bitter, astringent, and often muddy-tasting coffee. The increased surface area allows too many compounds to be dissolved.
- Too Coarse: Under-extraction results in a weak, sour, and often watery brew with underdeveloped flavors. The water doesn’t have enough contact time with the grounds to extract the desired compounds.
- The Fix: Familiarize yourself with the ideal grind size for your preferred brewing method:
- French Press: Coarse, like breadcrumbs.
- Pour Over (Hario V60, Chemex): Medium-coarse, like sea salt.
- Drip Coffee Maker: Medium, like granulated sugar.
- Aeropress: Varies depending on method (medium-fine to fine).
- Espresso: Very fine, like flour. Invest in a burr grinder, which crushes beans uniformly, unlike blade grinders that chop unevenly, producing a mix of fines and boulders that lead to inconsistent extraction.
If you’re serious about good coffee, invest in a burr grinder for consistent results. Blade grinders are unpredictable and inconsistent.
Learn more – The Ultimate Coffee Grinding Guide: the 7 Coffee Grind Size You should know for Perfect Brewing at Home
Or check this out – The 5 Best Coffee Grinder for Perfect Home Brewing in 2025
Common Coffee Brewing Mistakes 3 – The Silent Flavor Killer
Bad Water = Bad Coffee
Coffee is mostly water, so the quality of your brewing water significantly impacts the final taste. Tap water often contains minerals and chemicals that can interfere with the coffee’s flavor.
- The Mistake: Using unfiltered tap water.
- Why it Matters: If your water tastes off, so will your coffee. Chlorine and other chemicals in tap water can impart unpleasant tastes to your coffee. Hard water with high mineral content can also affect the extraction process and the overall flavor profile.
- The Fix: Use filtered water like Brita or PUR water filter pitcher, reverse osmosis systems, or bottled spring water. You should avoid distilled water, as it lacks the minerals necessary for proper extraction. If you’re unsure about your tap water, taste it. If you wouldn’t drink it on its own, don’t use it for coffee.
Common Coffee Brewing Mistakes 4 – The Recipe for Balance
Guessing Your Coffee-to-Water Ratio
The ratio of coffee grounds to water is fundamental to achieving a balanced and flavorful cup. Too much coffee can lead to an overly strong and potentially bitter brew, while too little will result in a weak and watery one.
- The Mistake: Eyeballing the coffee and water measurements or using inconsistent scoops.
- Why it Matters: Precision matters. Too much coffee? Overwhelming and bitter. Too little? Weak and underwhelming. A precise ratio ensures that the right amount of coffee solubles are extracted, creating a brew that is neither too concentrated nor too diluted.
- The Fix: Invest in a kitchen scale and measure your coffee and water by weight for the most accurate results. A general starting point is a 1:15 to 1:18 coffee-to-water ratio (e.g., 1 gram of coffee for every 15-18 grams of water). Experiment within this range to find your preferred strength. If using scoops, be consistent with the size and how you fill them.
Common Coffee Brewing Mistakes 5 – The Catalyst for Flavor
Inconsistent Water Temperature
Water temperature plays a crucial role in the extraction process. Too cold (except cold brew), and you’ll under-extract; too hot, and the grounds can get burned and extracting bitter compounds.

- The Mistake: Using boiling water directly from the kettle or water that is not hot enough.
- Why it Matters: The ideal water temperature range for brewing coffee is generally between 195-205°F (90-96°C). This range allows for the optimal dissolution of flavorful compounds without scorching the delicate coffee grounds. Boiling water (212°F/100°C) can extract bitter compounds, while cooler water will lead to a weak and sour brew.
- The Fix: Use a gooseneck kettle with a built-in thermometer or a separate food thermometer to ensure your water is within the ideal temperature range. If you don’t have a thermometer, let boiling water sit for about 30 seconds before pouring.
Common Coffee Brewing Mistakes 6 – The Pace of Extraction
Brewing Too Fast or Too Slow
The amount of time your coffee grounds are in contact with water directly influences the extraction. Just like grind size and water temperature, brewing time needs to be tailored to your chosen method.
- The Mistake: Not timing your brew or allowing it to steep for too long or too short.
- Why it Matters: Fresh coffee releases carbon dioxide when water hits it. If you skip the bloom phase, gas gets trapped and interferes with proper extraction.
- Too Short: Under-extraction, leading to sour and weak coffee.
- Too Long: Over-extraction, resulting in bitter and astringent flavors.
- The Fix: Use a timer for every brew. Follow the recommended brewing times for your specific method:
- French Press: 4 minutes. (Read more on How to Brew the Perfect French Press Coffee at Home)
- Pour Over: 2-3 minutes (depending on the pour). If you have Chemex, read this – How to Brew Coffee Using a Chemex
- Drip Coffee Maker: Varies by machine, but generally around 4-6 minutes.
- Aeropress: Varies depending on method (1-2 minutes).
Common Coffee Brewing Mistakes 7 – The Temperature Shock
Not Preheating Your Equipment
Pouring hot water into a cold brewing device can cause a significant temperature drop, affecting the consistency and overall extraction.
- The Mistake: Brewing directly into a cold French press, pour-over device, or mug.
- Why it Matters: A cold brewing vessel will cool down the brewing water, leading to a less efficient and potentially uneven extraction.
- The Fix: Always preheat your brewing equipment with hot water before adding your coffee grounds. Simply pour hot water into the device and let it sit for a minute or two before discarding the water and proceeding with your brew.

Common Coffee Brewing Mistakes 8 – The Art of Slow Enjoyment
Impatience for Blooming (Especially for Pour-Overs)
Rushing the brewing process or not allowing the coffee to bloom properly can hinder the full development of flavors.
- The Mistake: Skipping the bloom phase in pour-over or French press methods or not allowing enough contact time.
- Why it Matters: The bloom phase, where you saturate the grounds with a small amount of hot water and allow them to degas for about 30 seconds, releases trapped carbon dioxide. This step allows for more even extraction during the main brewing process. If you skip the bloom phase, gas gets trapped and interferes with proper extraction.
- The Fix: Start by pouring a small amount of hot water over the grounds which is just enough to wet them. Let it sit for 30–45 seconds. You’ll see it bubble and expand. That’s the bloom. After that, continue pouring in a slow, controlled manner. Be patient and follow the recommended brewing times and steps for your chosen method. Don’t skip the bloom!
Common Coffee Brewing Mistakes 9 – The Flavor Degradation
Using Low-Quality or Incorrect Beans
Even if you follow every step perfectly, you won’t get great coffee flavor if you’re using low-quality or the wrong type of beans.
- The Mistake: Grabbing any coffee on sale or using espresso beans for drip brew (or vice versa).
- Why it Matters: Not all beans are roasted or sourced the same way. Some are better suited for espresso, others for filter brewing. Cheap beans or overly dark roasts often mask flaws with bitterness.
- The Fix: Buy quality beans from a trusted roaster. Look for single-origin or blends tailored to your brew method. Experiment with light, medium, and dark roasts to see what suits your taste.
Common Coffee Brewing Mistakes 10 – The Residue Buildup
Not Cleaning Your Gear
Coffee oils and residue can accumulate in your brewing equipment over time, leading to off flavors and a less than fresh taste.

- The Mistake: Not cleaning your coffee maker, grinder, and other equipment regularly.
- Why it Matters: Old coffee grounds and oils become rancid and can impart funky, sour, bitter or stale flavors to your fresh brew. Mineral buildup in coffee makers can also affect performance and taste.
- The Fix: Clean your brewing equipment thoroughly after each use. Regularly deep clean your coffee maker based on the manufacturer’s instructions or at least once a week, using a descaling solution if necessary. Clean your grinder periodically to remove coffee dust and oils.
Wrap Up
Brewing great coffee at home isn’t about using complex techniques or buying a $500 espresso machine. By understanding the principles of extraction and paying attention to the details, you can reduce or eleminate the coffee brewing mistakes.
Better coffee is all about small wins. Nail your water temp. Get the grind right. Clean your gear. Use fresh beans. That’s it.
By consciously avoiding these common coffee brewing mistakes, you’ll unlock the true potential of your coffee beans and consistently brew a richer, smoother, and more flavorful cup. Start with one fix at a time, and your morning brew will go from “meh” to “wow” faster than you think!