Most people making pour-over at home are doing at least two things wrong. Not because they’re careless. Because the internet keeps teaching the method like it’s a chemistry exam.
I’ve brewed thousands of pour-overs in professional kitchens, cramped Airbnb counters, and hotel rooms with a single electrical outlet. And the honest truth? The method is simple. The details are what separate a flat, papery cup from something that genuinely stops you mid-sip.
This is the only pour-over guide you need. No fluff, no gear worship. Just what works.
What Is the Pour-Over Method (And Why Should You Care)?
Pour-over is manual drip brewing. Hot water passes through ground coffee in a filter, extracting flavor as it drips into a cup or carafe below. That’s it.
What makes it different from your standard drip machine isn’t the concept. It’s the control. You decide the water temperature. You control the pour rate. You adjust the grind. Every variable is in your hands.
That control is exactly why pour-over produces some of the cleanest, most nuanced coffee you’ll ever drink at home. High-acidity single-origin beans? Pour-over highlights them beautifully. Light roasts that taste muddy in a French press? They shine here.
But that same control is why beginners get frustrated. There’s no machine doing the thinking for you.
So what does this mean for you? If you’re tired of coffee that tastes like hot brown water, pour-over is the fastest way to fix that, without spending $500 on an espresso machine. You just need to understand the fundamentals first.
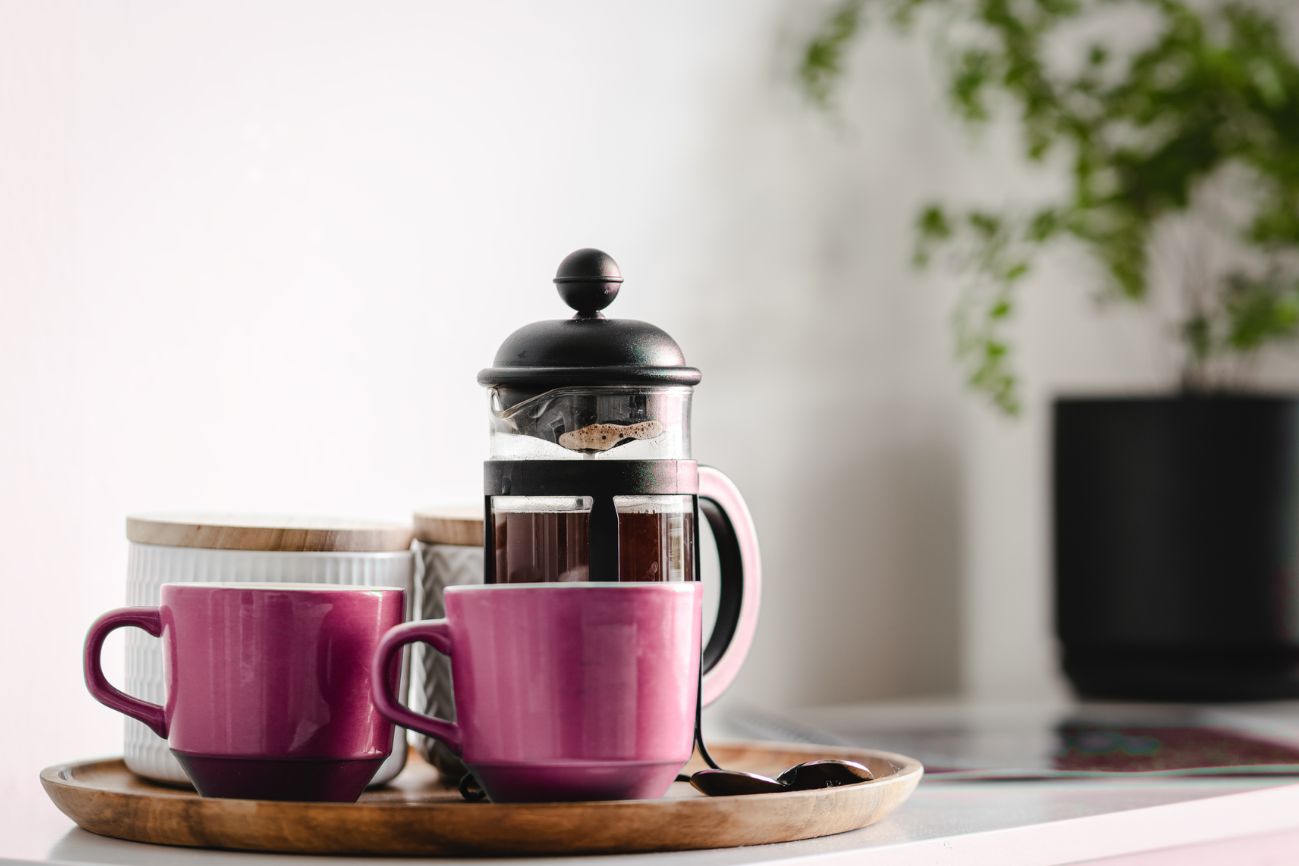
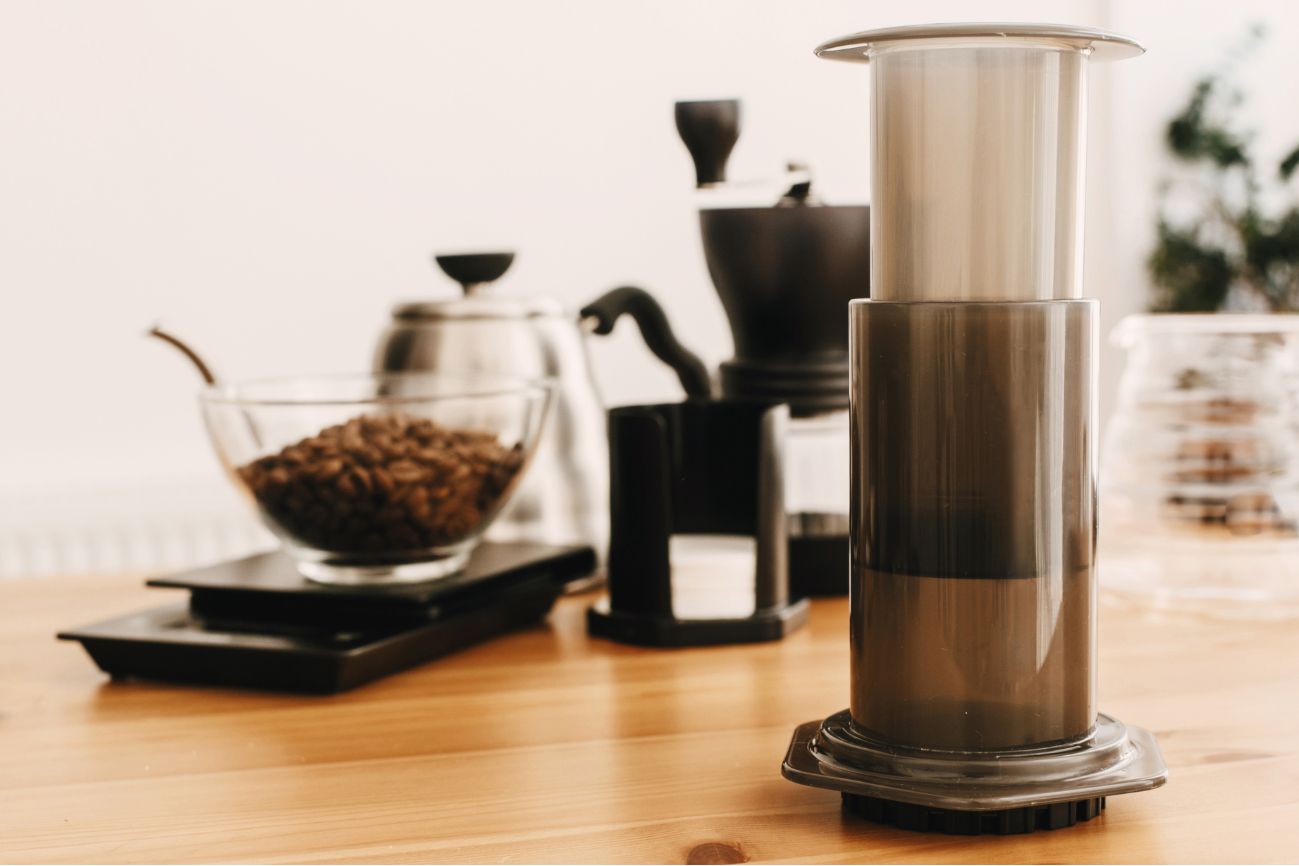
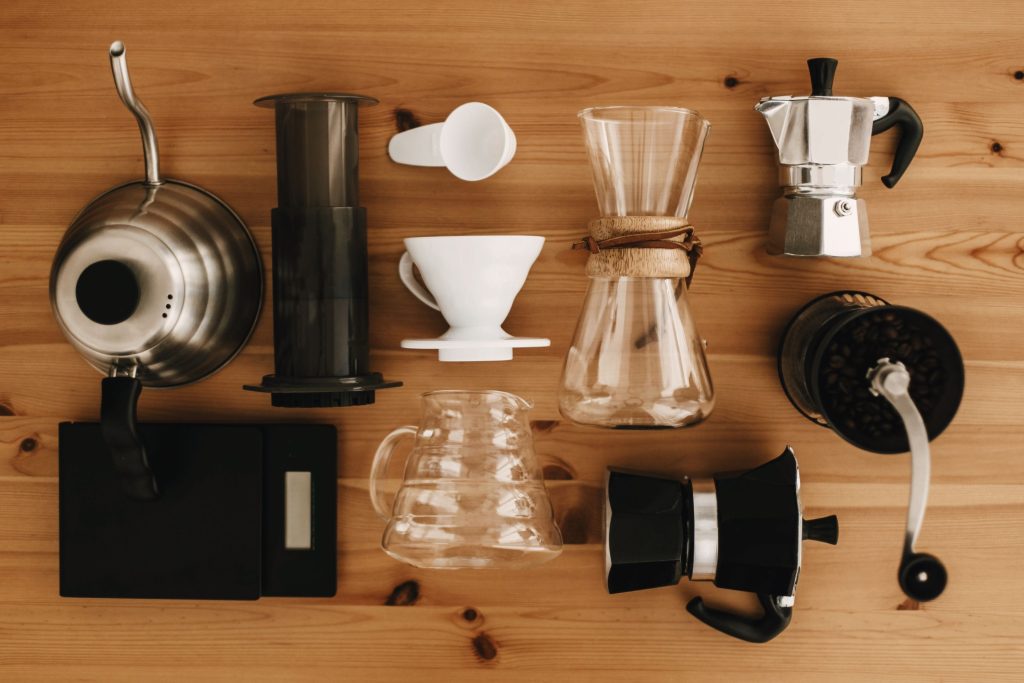
The Pour-Over Equipment You Actually Need
Let me be direct: you don’t need much.
The gear rabbit hole is real, and it’s expensive. I’ve watched people spend $400 on equipment before they’ve made a single decent cup. Don’t do that.
Here’s what genuinely matters:
- A pour-over dripper. The Hario V60, Chemex, and Kalita Wave are the three most popular options. Each produces a slightly different cup. Read my full breakdown of the best pour-over drippers if you’re not sure which to start with. My honest recommendation for beginners: start with the Kalita Wave. It’s more forgiving than the V60. If you are a busy person but loving pour-over coffee, then read Best Automatic Pour-Over Coffee Makers Reviewed
- A gooseneck kettle. This is non-negotiable. A standard kettle pours too fast and too wide. You lose control immediately. You don’t need the most expensive one on the market, but you do need the right shape. Here’s what to look for in a gooseneck kettle.
- A burr grinder. This one matters more than the dripper. A blade grinder produces uneven particles. Uneven particles extract unevenly. Uneven extraction tastes sour, bitter, or both. See my picks for the best burr grinders at every budget.
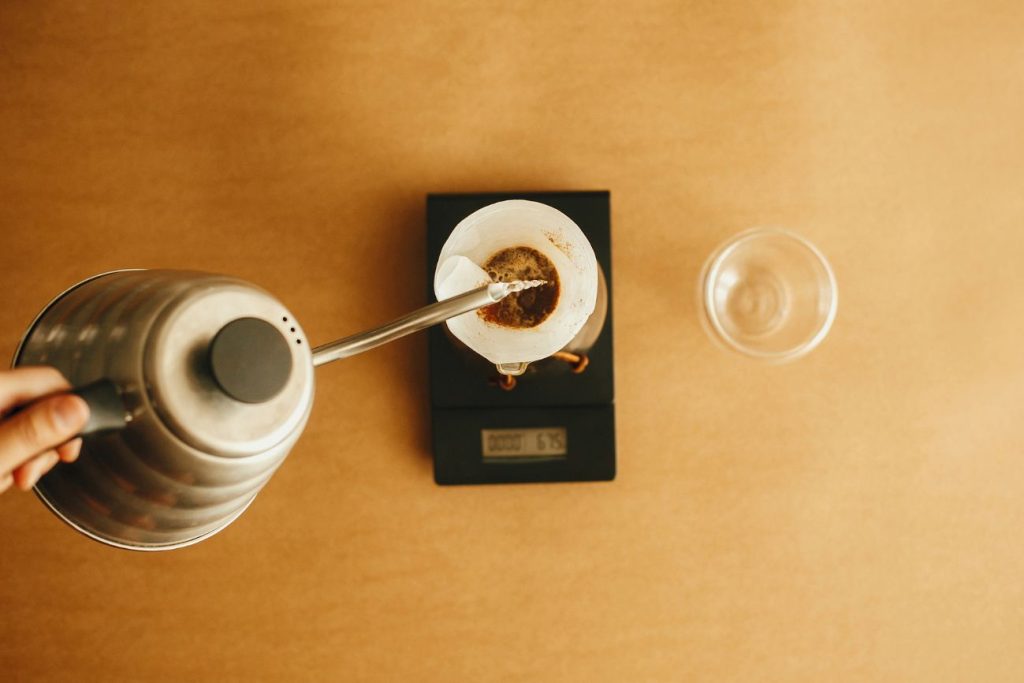
- A kitchen scale. Eyeballing scoops is how you get inconsistent coffee. A cheap digital scale changes everything.
- Filters. Bleached or unbleached, that’s personal preference. But always rinse them before brewing. More on that in a moment.
The “So What?” here is simple: You can get started with a solid pour-over setup for under $80. Check my beginner coffee setup guide for the exact kit I’d buy today if I were starting from scratch.
The Pour-Over Coffee Ratio: Get This Right First
This is where most people go wrong before the water even touches the coffee.
The standard pour-over ratio is 1:15 to 1:17 (coffee to water, by weight). That means for every 1 gram of coffee, you use 15 to 17 grams of water.
I brew at 1:16 as my default. It’s balanced. Not too strong, not weak.
A practical example:
- 25g of coffee + 400g of water = a solid single serving
- 30g of coffee + 480g of water = a fuller 12oz cup
Adjust based on taste, not guesswork. If your cup tastes weak and thin, use less water (closer to 1:15). If it tastes sharp or too intense, add more water (closer to 1:17).
Don’t change multiple variables at once. Change one thing per brew. That’s how you actually learn what’s affecting your cup.
Grind Size for Pour-Over: The Most Overlooked Variable
If your pour-over tastes bitter, your grind is probably too fine. If it tastes sour and weak, it’s too coarse.
For most pour-over drippers, you want a medium-fine grind. Think table salt, or slightly coarser. Not espresso-fine. Not French press coarse.
The dripper you use matters here:
- Hario V60: Medium-fine. The cone shape drains fast, so a slightly finer grind helps slow extraction and develop sweetness.
- Chemex: Medium to medium-coarse. Chemex filters are thicker and naturally slow the flow.
- Kalita Wave: Medium-fine. The flat bed is forgiving, but too coarse and water rushes through before extracting fully.
I always recommend dialing in your grind before worrying about your pour technique. Your grinder is doing more work than your hands are. Here’s a deeper look at grind sizes and how they affect extraction.
Water Temperature for Pour-Over: Stop Guessing
Boiling water is too hot for most coffee. It over-extracts quickly and can burn lighter roasts.
The sweet spot: 90°C to 96°C (195°F to 205°F).
For light roasts, go higher, around 94°C to 96°C. They need more heat to extract properly. For darker roasts, go lower, around 90°C to 92°C. Darker beans extract faster, and lower temps keep bitterness in check.
If you don’t have a temperature-controlled kettle, boil your water and let it sit for 30 seconds to a minute off the heat. That drops the temperature roughly to the right range. A temperature-controlled gooseneck kettle removes the guesswork entirely and is one of the few gear upgrades I genuinely think is worth the money.
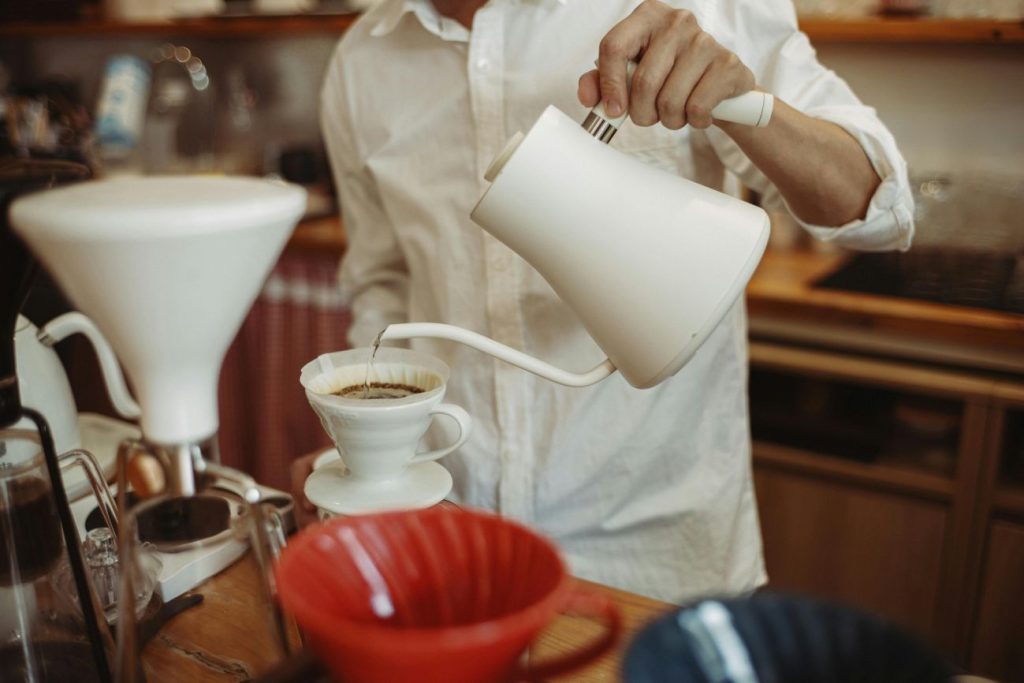
Step-by-Step Pour-Over Brewing Guide
Here’s the full process, exactly as I do it.
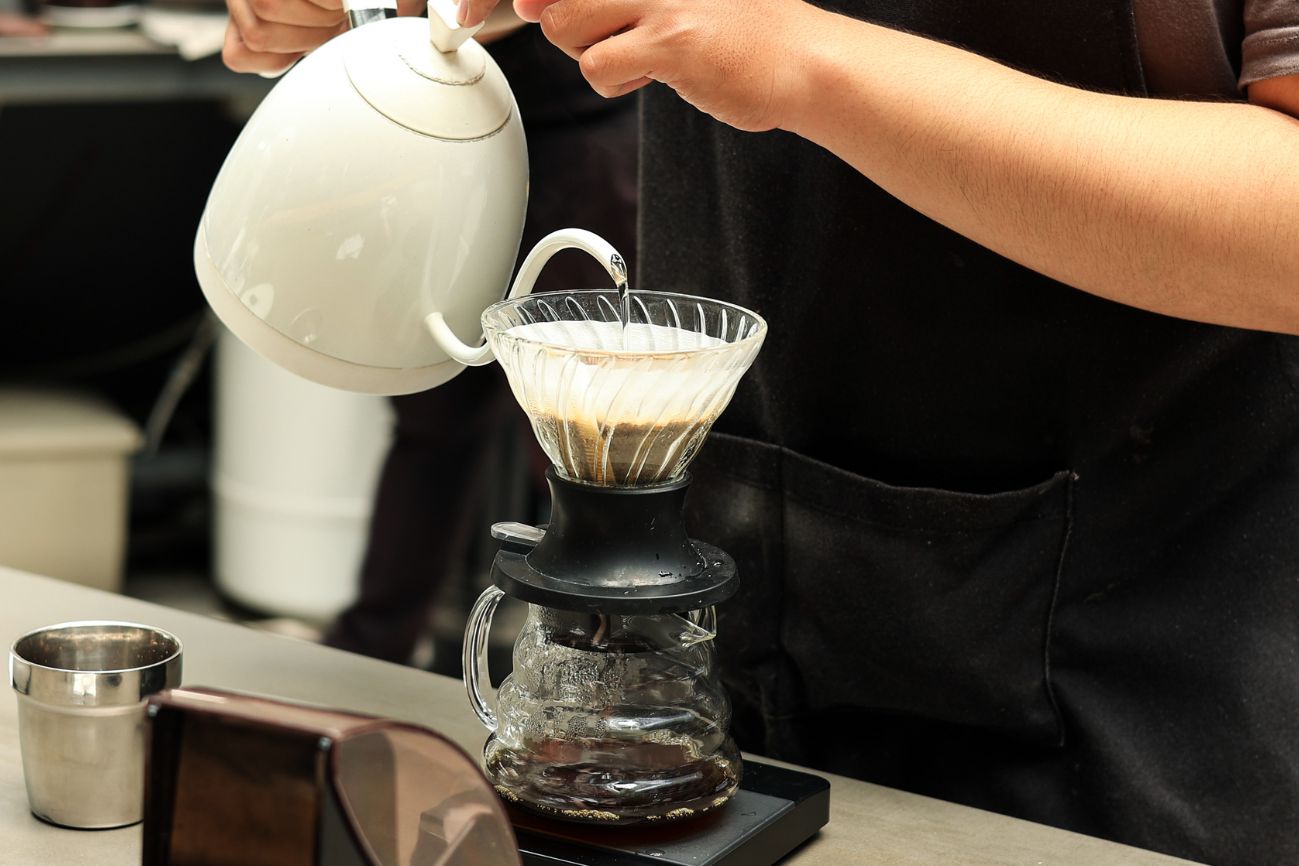
1. Boil your water. Heat to your target temperature. While it’s heating, set up your dripper over your cup or carafe.
2. Rinse your filter. Place the paper filter in the dripper. Pour hot water through it into the vessel below. Dump that water. This removes the papery taste from the filter and pre-heats everything. Skip this step and your first cup will taste like wet cardboard.
3. Add your coffee. Grind fresh. Add your grounds to the rinsed filter. Give the dripper a gentle shake to level the bed. This helps water flow evenly.
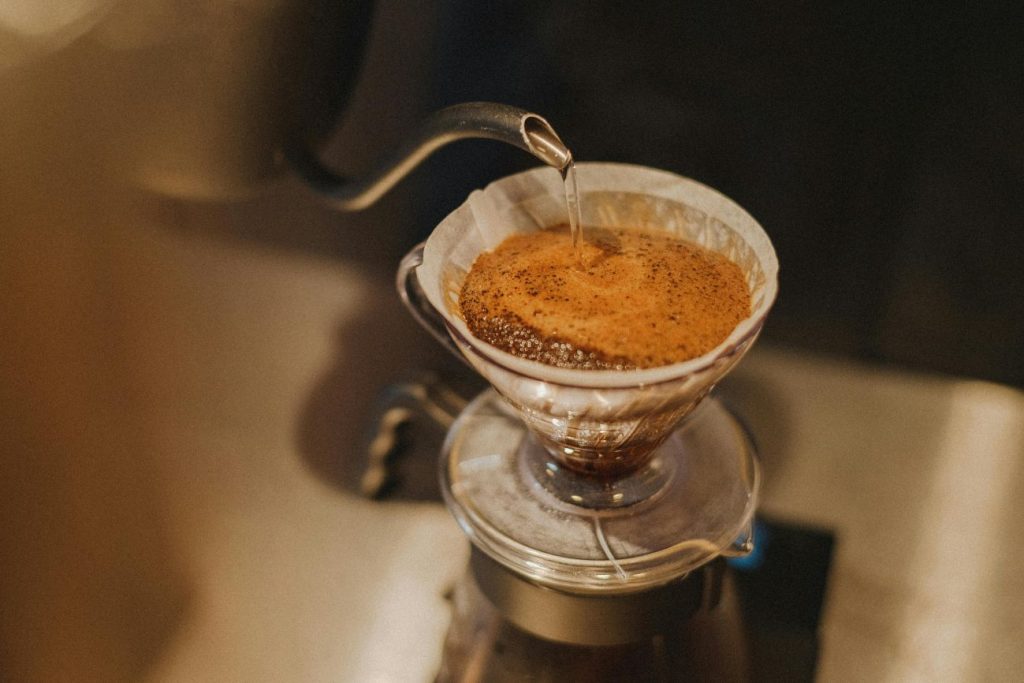
4. The bloom pour. Start your timer. Pour just enough water to saturate all the grounds, roughly 2x the weight of your coffee. So if you’re using 25g of coffee, pour about 50g of water.
Pause. Wait 30 to 45 seconds.
Why? Fresh coffee releases CO2 when hot water hits it. That gas, if not allowed to escape, creates uneven extraction. The bloom lets it off-gas. This step is not optional if you’re using fresh beans.
5. Continue pouring in slow, concentric circles. After the bloom, pour slowly in a spiral pattern from the center outward, then back in. Keep the water level steady. Don’t pour directly on the filter walls. Aim for the grounds.
Pour in stages if needed. Add water in 50 to 75g increments, letting it drain slightly between pours.
6. Total brew time: 3 to 4 minutes. If your brew is draining too fast and tasting sour, grind finer. If it’s draining too slowly, past 4:30, and tasting bitter, grind coarser.
7. Remove the dripper and drink immediately. Pour-over doesn’t hold well. It’s designed for fresh, immediate consumption.
Common Pour-Over Mistakes (And How to Fix Them)
Mistake 1: Pouring too fast. You overwhelm the filter, flood the grounds unevenly, and water bypasses the coffee entirely. Slow down. A gooseneck kettle makes this effortless.
Mistake 2: Using stale coffee. Pour-over is a magnifying glass for your beans. Bad beans brewed perfectly still taste bad. Use coffee within 2 to 4 weeks of its roast date. Not the purchase date. The roast date.
Mistake 3: Skipping the scale. “About two tablespoons” is not a recipe. It’s a coin flip. Weigh your coffee. Weigh your water. Repeat what works.
Mistake 4: Inconsistent grind. Blade grinders shatter beans into random sizes. Some particles over-extract, some under-extract. The result is a muddy, confused cup. A burr grinder is the single best upgrade you can make. Full stop.
Mistake 5: Not adjusting anything. If your coffee tastes off, one variable is the culprit. Work through them one at a time: grind first, then ratio, then temperature. Don’t change three things at once and expect to learn anything.
Pour-Over vs. Other Brewing Methods
I get this question constantly. Here’s the honest version.
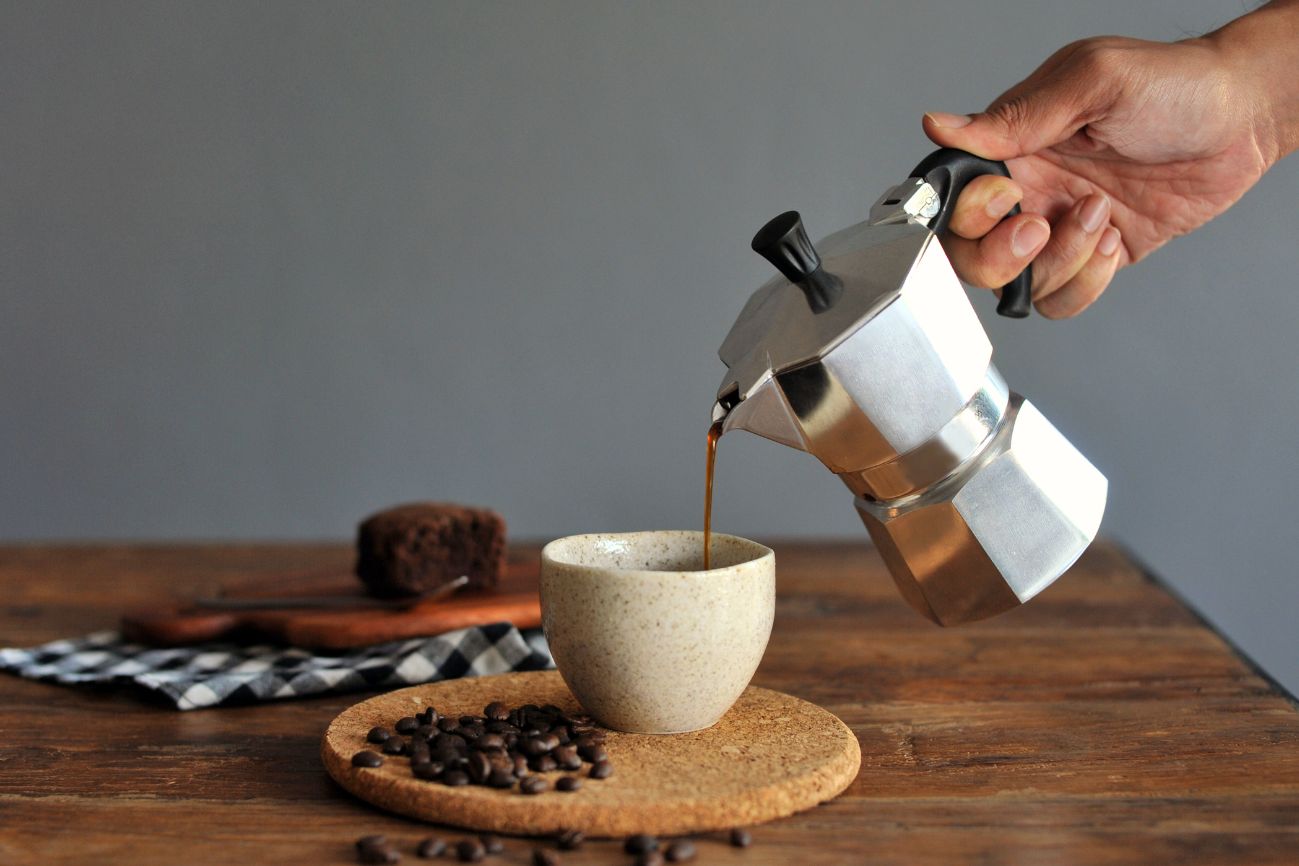
Pour-over vs. French press: French press is full-immersion brewing. It produces a heavier, oilier cup. Pour-over is cleaner and brighter. Neither is better. They’re different tools for different preferences. See my full comparison of brewing methods.
Pour-over vs. AeroPress: AeroPress is faster, more forgiving, and incredibly portable. Pour-over takes more time and attention but scales beautifully when you want to brew for two or more. Both are worth owning.
Pour-over vs. drip machine: A well-made drip machine can actually produce great coffee. The difference is repeatability and control. Pour-over gives you more of both, but a quality automatic brewer handles the variables for you once you dial it in.
The honest truth? Use what you’ll actually use consistently. The best brewing method is the one you do every morning without dreading it.
Best Coffee Beans for Pour-Over
Not all coffee shines equally in a pour-over.
Light and medium roasts tend to perform best. The clean extraction highlights floral, fruity, and acidic notes that get lost in darker roasts or heavier brew methods. Ethiopian and Kenyan single-origins are classics for a reason. Colombian beans tend to be more approachable if you’re newer to lighter roasts.
Dark roasts can work, but you’ll want to lower your water temperature slightly and use a finer grind to compensate for faster extraction.
Always buy whole bean, not pre-ground. Coffee starts going stale within 15 to 30 minutes of grinding. Pre-ground coffee has been stale since the bag was sealed.
Look for a roast date on the bag. Any reputable roaster lists it. If the bag only has a “best by” date but no roast date, that’s a red flag.
Final Thoughts: Keep It Simple, Stay Consistent
The people who make the best coffee at home aren’t the ones with the most expensive equipment. They’re the ones who pick a process and repeat it until they understand what each variable does.
Start with a solid ratio. Nail your grind size. Use fresh beans. Let the bloom happen. Pour slowly.
That’s genuinely most of it.
Once those feel automatic, you can start experimenting. Different origins. Different temperatures. Different drippers. That’s when it gets really interesting.
But get the basics locked in first. Complexity built on a shaky foundation just produces complicated bad coffee.
If you’re just getting started, my beginner coffee setup guide walks you through exactly what to buy and in what order. No gear you don’t need, no budget wasted.
Good coffee doesn’t require perfection. It requires a little understanding, a little patience, and the willingness to adjust.
That’s it. Now go make a cup.
Disclosure: Some links in this post are affiliate links. If you buy through them, I may earn a small commission at no extra cost to you. I only recommend things I’d genuinely use. Read my full affiliate disclosure here.